Garage Door Installation Services In The Woodlands, TX

Get Stress-Free Garage Door Service in The Woodlands, Texas

Make a call

(346) 574-0359

Email address

info@garagedoorswoodlandstx.com

May 20, 2026 admin No Comments

How to Replace Garage Door Seal: A Step-By-Step DIY Guide

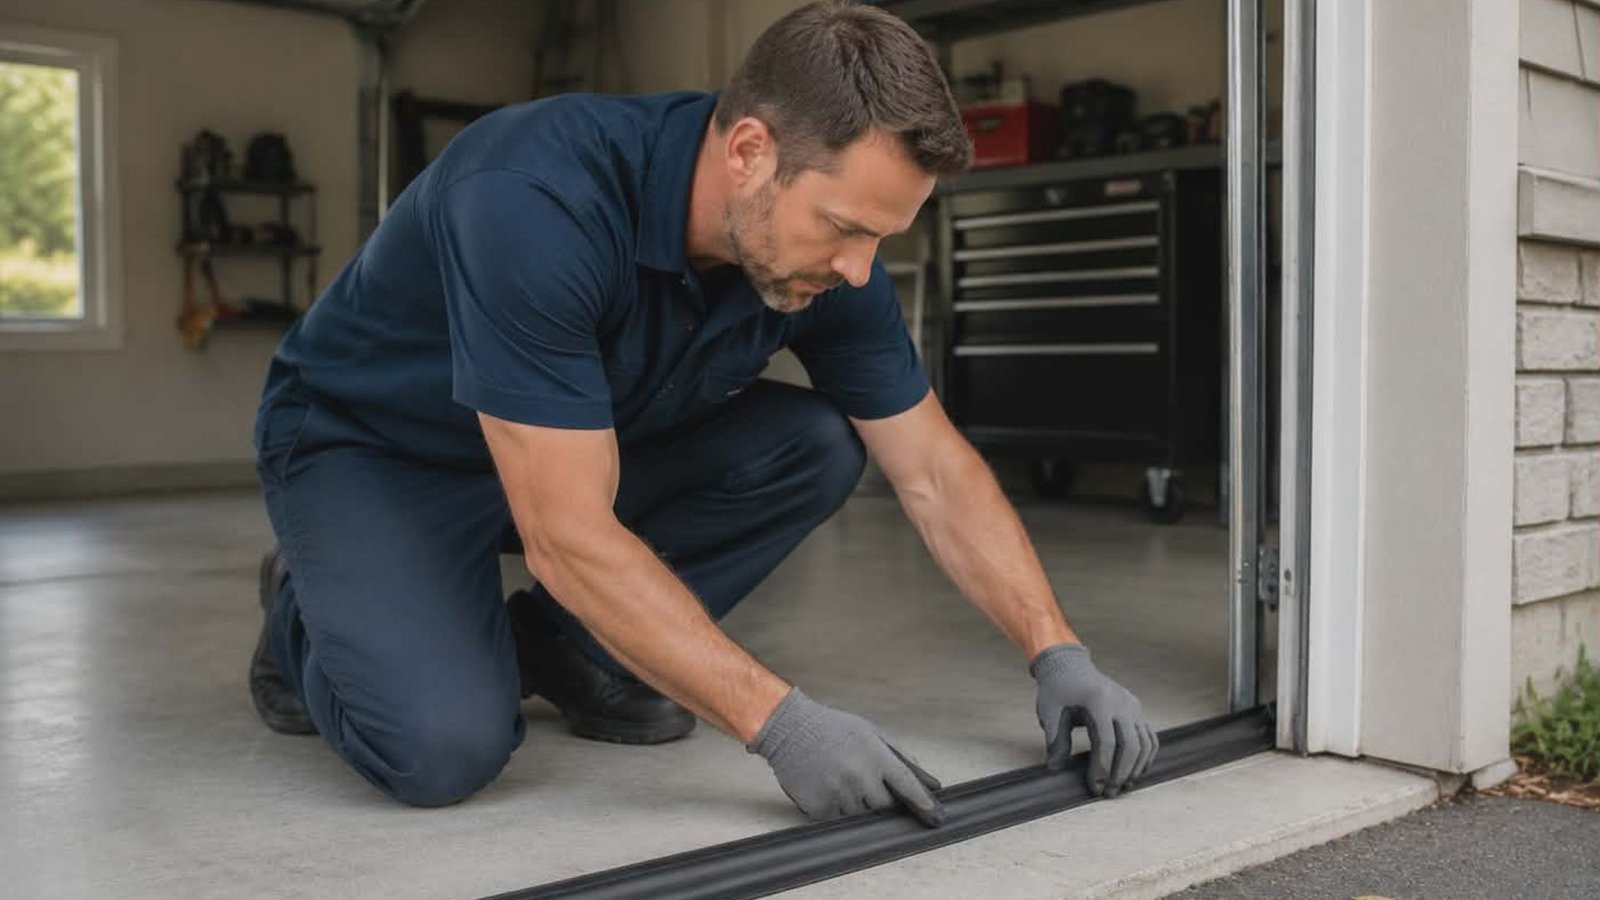
How to Replace Garage Door Seal: A Step-By-Step DIY Guide If you’ve noticed drafts, water, or pests sneaking under your garage door, a worn-out seal is likely the culprit. The good news? This is one of the more beginner-friendly home repairs you can tackle on a weekend. This guide walks you through everything you need to know. Why the Bottom Seal Matters The garage door bottom seal is your first line of defense against the elements. Over time, rubber degrades, cracks, and loses its flexibility – especially in climates with fluctuating temperatures. Replacing it promptly protects your floor, your belongings, and your energy bill. Tools You Will Need Before you start, gather the right tools for each step: You can find replacement seals at most hardware stores. If you want to learn more about compatible seal types, YouTube has some useful visual references worth checking out. Step-By-Step Guide to Replacing Your Garage Door Seal Step 1 – Remove the Old Seal Use a utility knife or flathead screwdriver to carefully remove the old seal from the track at the bottom of the door. Take your time here – rushing can damage the track. Step 2 – Measure the Door Width Measure the full width of your garage door before purchasing a replacement. It is better to buy slightly more than you need and trim the excess later. Step 3 – Slide in the New Seal Most rubber seals fit into a retainer track. Slide or fold the new seal into place along the track, working from one end to the other. Step 4 – Secure the Seal in Place Use screws or the existing retainer to lock the seal in place. Double-check that the seal sits flush against the ground when the door is closed to ensure a proper fit. Step 5 – Trim Any Excess Use your utility knife to cut any excess material cleanly. A neat finish helps the seal perform better and last longer. When to Call a Professional If you notice damage beyond the seal – like misaligned tracks, broken springs, or a door that won’t close properly – it’s time to reach out for professional garage door repair services. You should also consider scheduling routine garage door maintenance to catch issues before they become costly repairs. For newer installs or full door replacements, learn more about expert garage door installation. And if your springs are showing wear, look into garage door spring repair and replacement. This type of seal replacement project is straightforward, but your garage door system as a whole deserves regular attention. Conclusion Replacing a garage door seal is a simple project that pays off in comfort, energy savings, and protection. With the right tools and this step-by-step guide, most homeowners can handle it in under an hour. That said, if you run into bigger issues along the way, the team at 2Quick Garage Doors Woodlands is ready to help. Call us at (346) 574-0359 to learn more about our services.

Read More
May 18, 2026 admin No Comments

How To Change Battery In Garage Door Opener (Quick And Easy Guide)

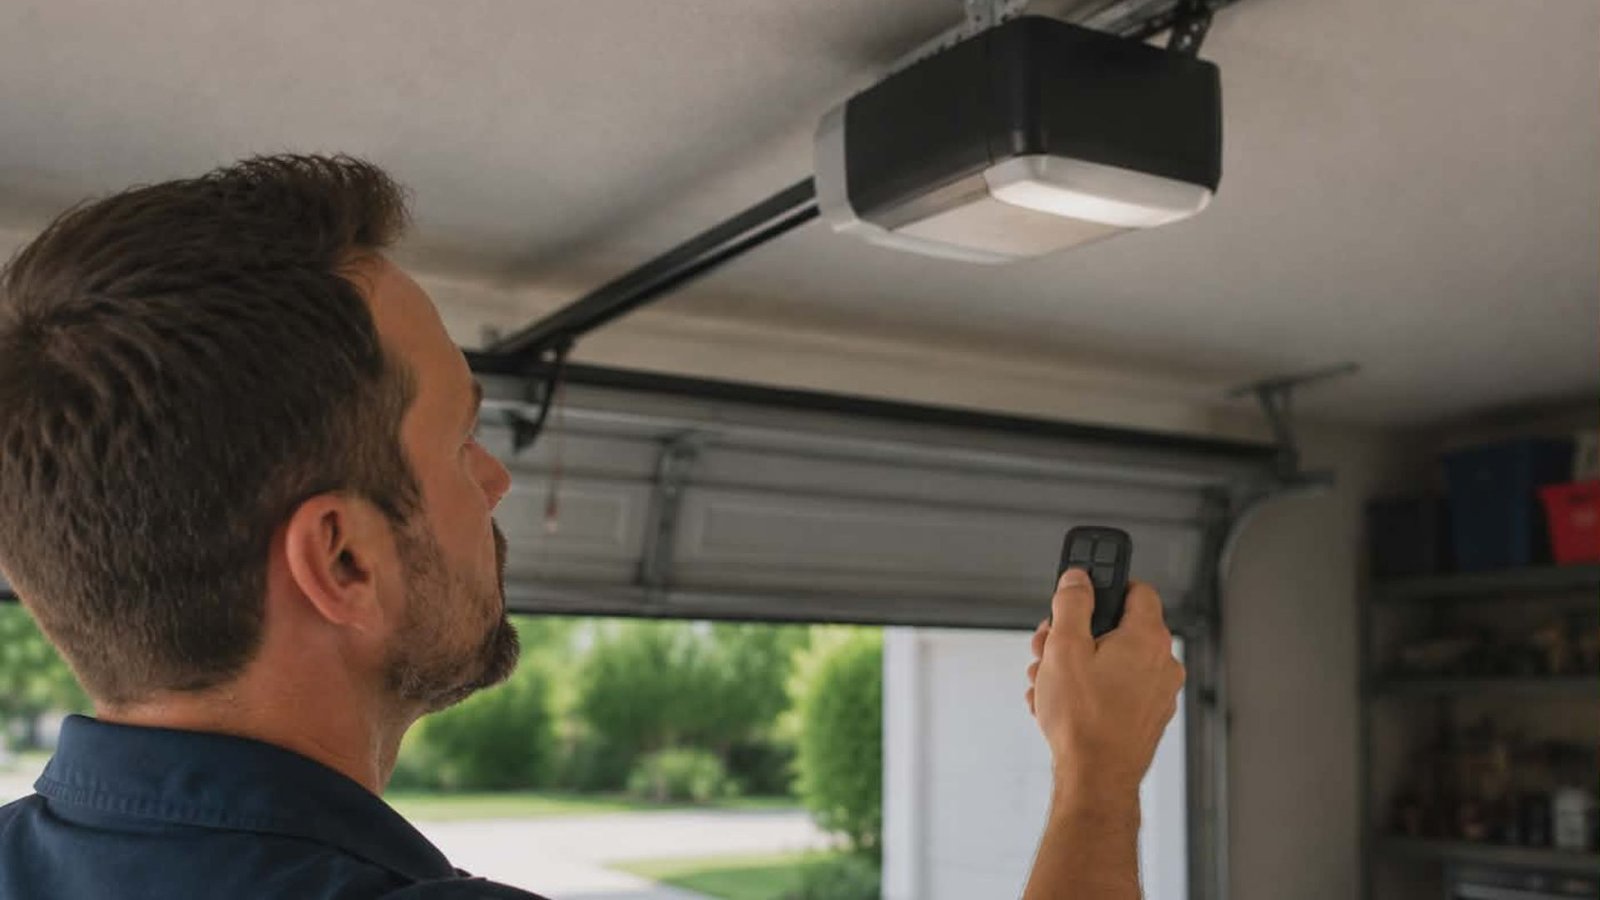
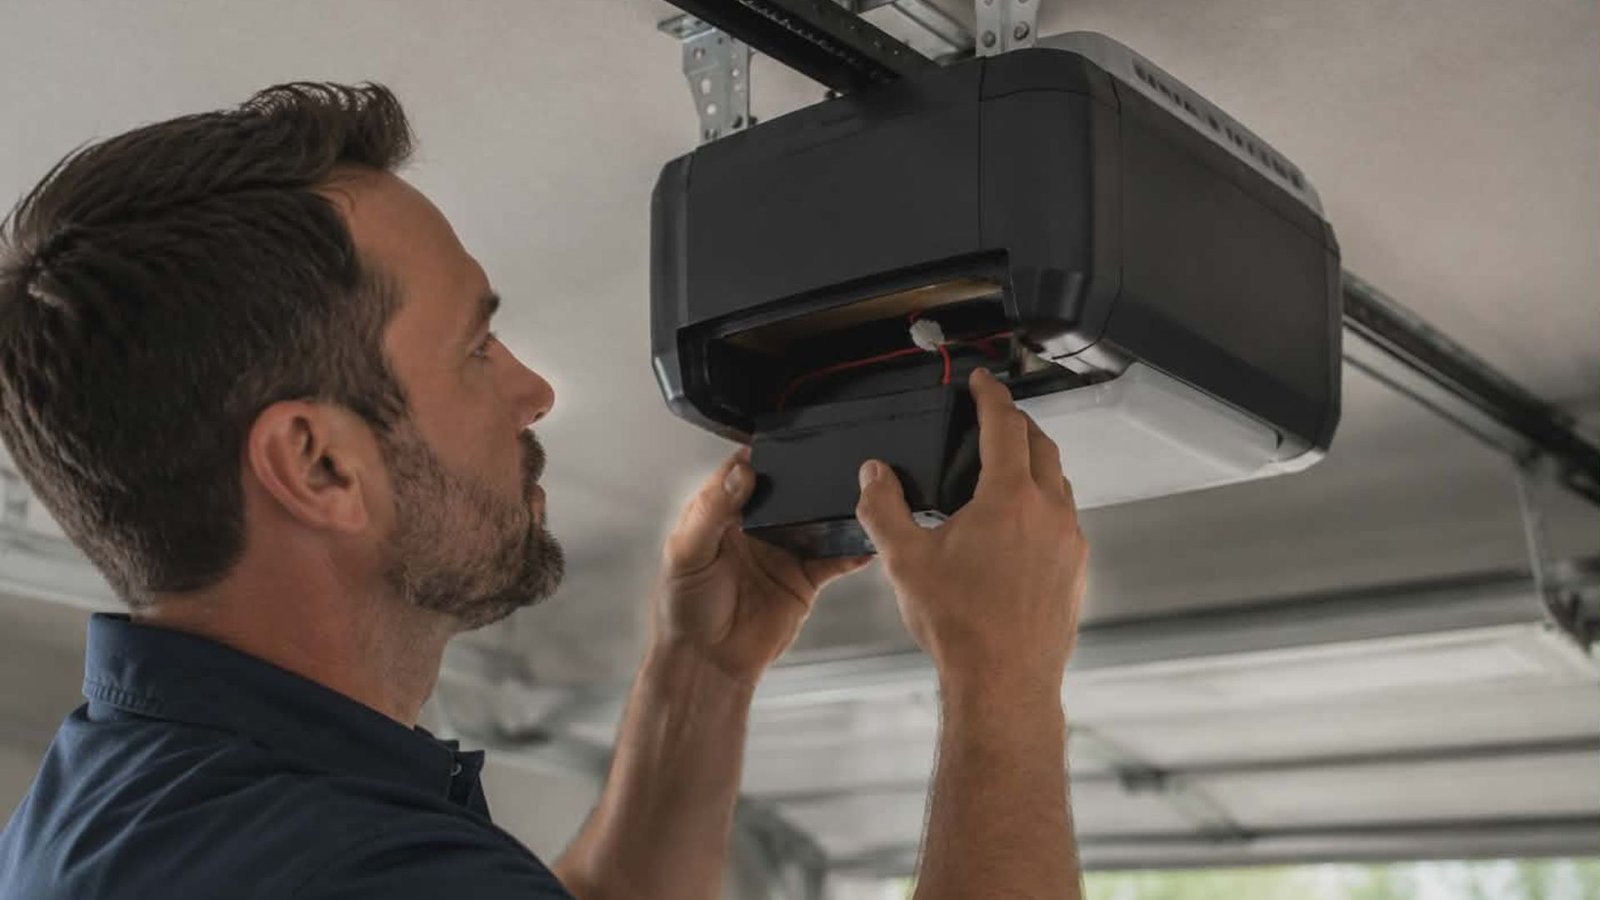
How To Change Battery In Garage Door Opener (Quick And Easy Guide) Your garage door opener stops responding, and you immediately wonder if something is seriously wrong. Before you call for repairs or spend money on a new unit, check the battery first. A low or dead battery is one of the most common reasons an opener acts up, and replacing it is easier than most people think. What You Need Before You Start Gather a few simple items before you begin. You will need a screwdriver, a replacement battery that matches your opener model, and your owner’s manual for reference. If you have a LiftMaster garage door opener, the battery type is usually printed inside the remote or on the back panel of the unit. Not sure which battery to buy? Check YouTube for a quick video walkthrough specific to your model. Many manufacturers, including those under the Chamberlain Group, publish step-by-step instruction videos to guide homeowners through the process. How To Replace a Garage Door Opener Battery Step by Step Follow these simple steps to replace the battery in your overhead opener: Some units use button cells, while others use 9-volt or AA batteries. Always follow the instructions in your manual to avoid using the wrong type. When a Battery Swap Is Not Enough If you replace the battery and the opener still does not work, the issue may go deeper. Safety sensor misalignment, worn motor components, or wiring faults can all affect performance. In those cases, it helps to reach out to professionals who perform reliable garage door repair services rather than guessing at a fix. For homeowners in The Woodlands who need expert help, 2Quick Garage Doors Woodlands offers professional garage door opener repair and installation, comprehensive garage door maintenance, and expert garage door installation services. Whether your replacement needs are simple or complex, their team is ready to assist. Conclusion Changing a garage door opener battery is a simple task that can save you time and money. Following the right steps and using the correct battery will get your opener back to full power quickly. However, if the problem persists after the swap, do not ignore it. Schedule a service call with a trusted local expert to keep your garage door running safely and smoothly. Contact 2Quick Garage Doors Woodlands at (346) 574-0359 to learn how they can help.

Read More
May 15, 2026 admin No Comments

Why Your Garage Door Opener Light Stays On And How To Fix It

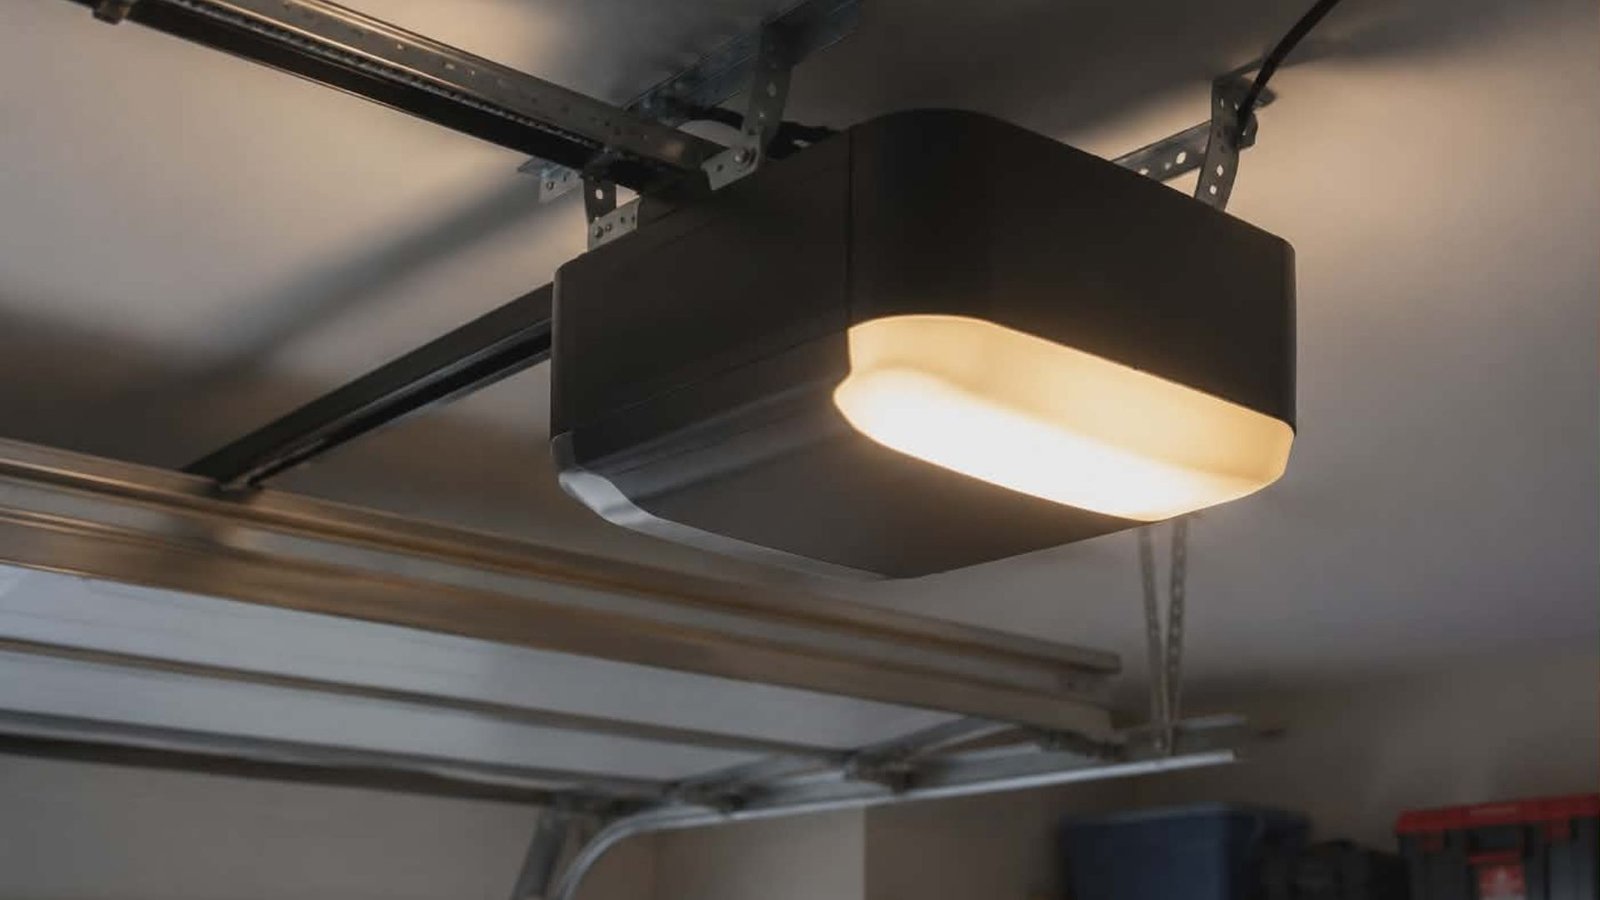
Why Your Garage Door Opener Light Stays On And How To Fix It You close the garage door, head inside, and notice the light from your garage is still glowing. It has been several minutes, maybe longer. Sound familiar? A garage door opener light that refuses to turn off is one of the more common issues homeowners deal with, and while it might seem minor, it can waste energy, indicate a deeper problem, or simply be annoying. The good news is that this issue is usually fixable without calling anyone. But understanding why it happens is the first step. What Controls the Garage Door Opener Light? Your garage door opener has a built-in light system designed to illuminate your garage whenever the door opens or closes. Most systems are designed to keep the light on for a set period after each use, typically around four and a half minutes. The timer that controls how long the light stays on can usually be adjusted. This is done through the wall control panel or the opener’s settings. Most modern openers, including brands like Chamberlain and Genie, let you adjust the light timer using the wall control or the opener’s settings. Common Reasons Your Garage Door Opener Lights Stay On The Light Timer Is Set Too Long This is the simplest explanation. If the opener light stays on longer than expected, your timer may just be set to a high duration. Check the opener’s manual or the wall control to see if you can adjust the light timer. Sometimes, staying on longer than usual is just a matter of tweaking a setting. A Motion Sensor Is Triggering the Light Many newer garage door openers include a motion sensor that detects movement and keeps the garage door light on as long as it senses movement nearby. If something in your garage is reflecting heat or moving, such as a fan, hanging objects, or even animals, the motion sensor could be keeping the light active. If the sensor repeatedly detects movement, the light will keep resetting. Try removing objects near the sensor and see if the garage door opener light stays off. Sensor Issues from Dirt or Misalignment The photo-eye sensors near the bottom of your garage door track infrared beams to detect obstructions. Dirt or misalignment on these sensors can cause a glitch in your garage door system that affects more than just door movement. It can also cause the opener lights to blink or stay lit unexpectedly. Cleaning the sensors with a soft cloth and checking for proper alignment can resolve the issue quickly. Inspect both sensor units and make sure the red light on each one is solid, not blinking. A Faulty Light Button or Wall Control If the light button on your wall control panel is stuck or malfunctioning, the garage door opener may receive a constant signal to keep the light on. Inspect the button for debris or physical damage. If the wall control panel is unresponsive or behaves erratically, it may need to be replaced. Wiring Problems Damaged wiring or loose wires inside the opener can cause the light to stay on indefinitely. Wiring connections that fray or short-circuit send incorrect signals to the logic board, which then keeps the light active. You can use a multimeter to check for continuity issues, but if you are not comfortable working with electrical wiring, this step may require professional help. Check the wiring between the wall control and the opener unit if the light still stays on after other troubleshooting steps. A Faulty Control Board The logic board is essentially the brain of your garage door opener. If this printed circuit board develops a fault, it can cause all kinds of strange behavior, including lights that won’t turn off. A faulty control board usually requires a technician to inspect and replace. How to Troubleshoot a Garage Door Light That Won’t Turn Off Here are the basic troubleshooting steps to work through before calling for help: If the light still won’t turn off after these steps, the issue may be internal, pointing to the logic board or an electrical issue that needs a licensed electrician or garage door professional. When to Call a Professional If the issue persists after basic troubleshooting, or if you are dealing with damaged wiring or a failed control board, it is time to get expert help. Regular maintenance can prevent many of these problems from developing in the first place. For issues with your garage door opener, our team offers garage door opener repair and installation services to get things working properly again.  We also provide professional garage door repair in The Woodlands for anything beyond a simple fix, along with routine garage door maintenance services to keep your system functioning properly year-round. If you are looking for a full upgrade, we also offer new garage door installation services. Conclusion A garage door opener light that stays on is usually the result of a timer setting, a motion sensor, sensor issues, or a faulty component. Most cases have simple solutions you can handle yourself. But when the light still stays on after all your troubleshooting steps, do not ignore it. A dark garage is safer than one with a mysterious electrical issue lurking behind the walls. Reach out to our team at (346) 574-0359 and let a trusted door company handle it right the first time.

Read More
May 13, 2026 admin No Comments

How to Lubricate a Garage Door the Right Way (and What to Avoid)

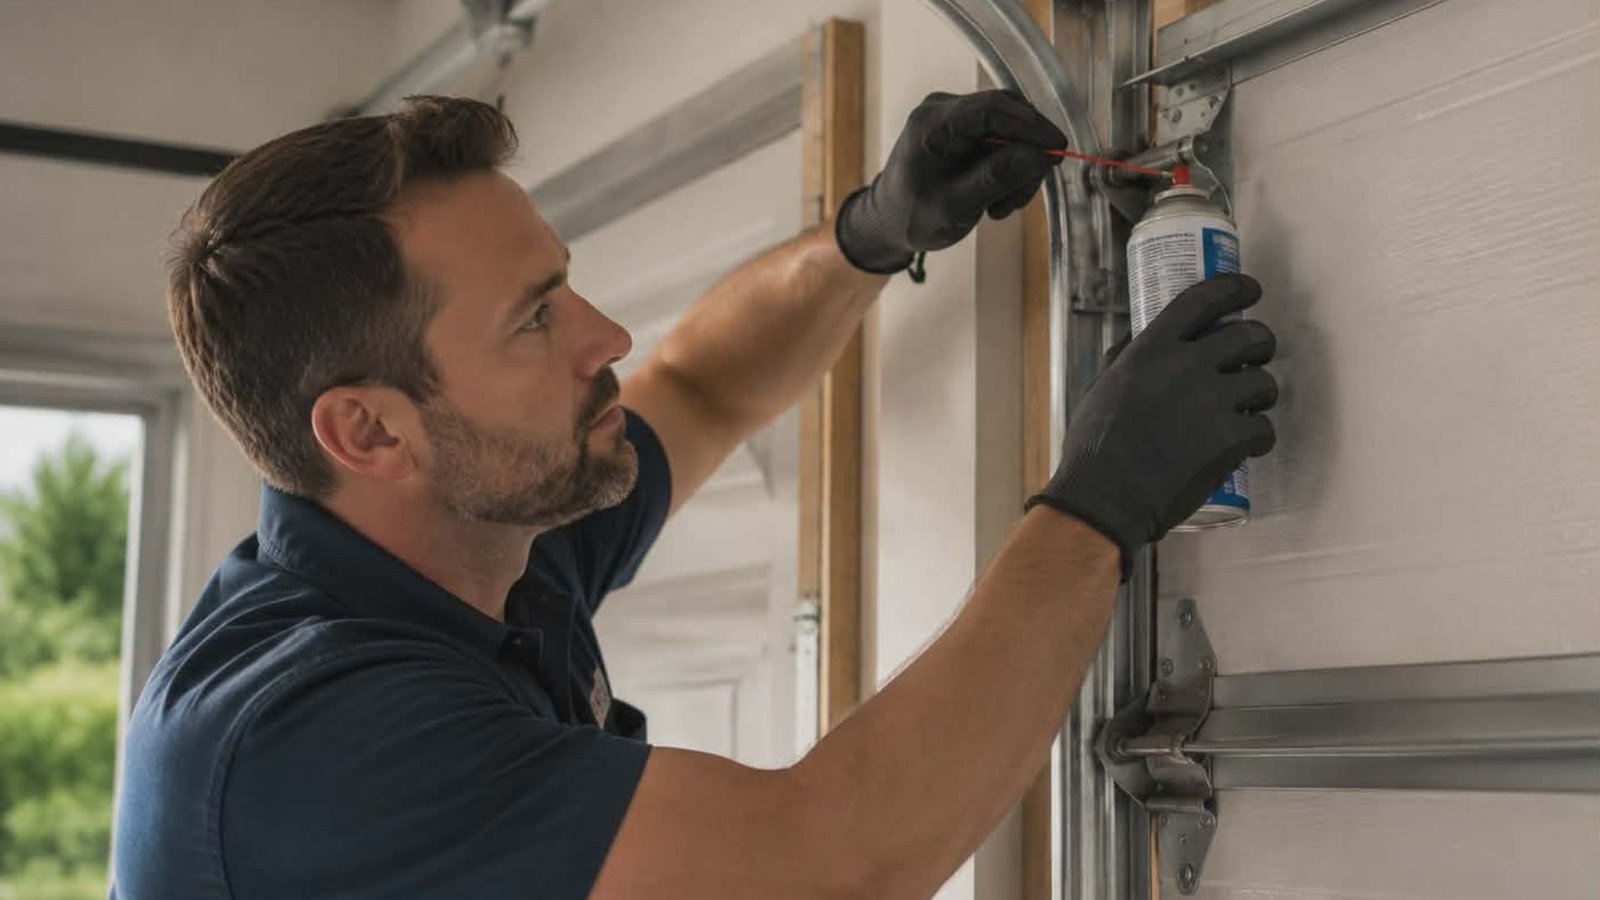
How to Lubricate a Garage Door the Right Way (and What to Avoid) Your garage door works hard every single day. It opens, closes, and takes the full brunt of weather, humidity, and constant mechanical stress. Over time, that wear and tear adds up, and one of the simplest ways to keep things running well is proper lubrication. However, most homeowners either skip this step entirely or do it incorrectly. Using the wrong lubricant for your garage door can actually attract dirt and debris, cause buildup, and lead to costly repairs down the road. This guide walks you through exactly what to do, what to avoid, and how to extend the life of your garage door with minimal effort. Why Lubrication Matters More Than You Think A well-lubricated garage door does more than just operate smoothly and quietly. It reduces friction between metal-to-metal contact points, prevents rust from forming on key components, and lowers the risk of premature failure on springs, rollers, and hinges. In a climate like The Woodlands, Texas, where humidity can swing dramatically between seasons, moisture is a real threat. Without proper lubrication, grime and grit work their way into the moving parts and grind them down faster than you would expect. Noise reduction, smooth operation, and a longer lifespan all start with a consistent lubrication routine. What You Will Need Before You Start Before you lubricate your garage door, gather the right supplies. Choosing the right lubricant makes all the difference. Recommended products: What to avoid using: Step-by-Step Guide to Lubricating Your Garage Door Step 1: Inspect and Clean First Start by disconnecting the door opener and manually operating the door to check for loose hardware, damaged rollers, or anything that looks out of place. Wipe away old lubricant, dirt, and debris, and any grime from each component using a clean rag. Applying fresh lube over old lubricant defeats the purpose. Step 2: Lubricate the Torsion Springs The torsion spring sits above the door and bears a significant amount of tension every time you open or close your garage door. Apply white lithium grease or a lithium-based spray lubricant along the length of each torsion spring. Be careful and precise here. If a torsion spring looks cracked or worn, stop and call a professional. Torsion spring work carries real risk, and garage door spring repair and replacement should not be a DIY experiment. Step 3: Work on the Hinges Each hinge connects the door panels and allows them to bend as the door moves along the track. Apply lubricant directly to the hinge pin and the joint of each hinge. Door hinges are one of the biggest sources of squeaking, and a properly lubricated hinge pin makes an immediate difference. If your door hinges are made of steel, use white lithium grease. For nylon or plastic hinges, silicone is the safer option. Step 4: Lubricate the Rollers Steel rollers with exposed roller bearings need lubrication on the bearing itself, not the roller body. For nylon wheels with sealed bearings, just apply a small amount to the bearing area. Avoid getting lubricant on the tracks, as this can cause the door to slip or become unbalanced. Step 5: Do Not Forget the Cables and Pulley The cable runs along the sides of the door and connects to the torsion system. Apply a light coat of spray lubricant along each cable. Spray the pulley as well, since friction there affects how smoothly the door operates. This is often an overlooked part of the overhead door system. Step 6: Wipe Off Any Excess After applying lubricant to each section, wipe off any excess with a clean cloth. Excess lubricant drips onto the floor, collects dirt and dust, and can work its way onto the tracks where you do not want it. Step 7: Test the Door Plug the door opener back in and open and close your garage door several times to work the lubricant into each joint and bearing. Listen for any remaining noise. If things still grind or feel stiff, something may need a closer look. How Often Should You Lubricate? A good rule of home maintenance is to lubricate every 6 months. If you use your garage door heavily or notice it sounding rough, bumping it every 3 months is reasonable. Keeping things well-lubricated is far cheaper than ignoring the problem until something breaks. If you’re unsure about a component or notice something off, contact 2Quick Garage Doors Woodlands for professional garage door maintenance in The Woodlands. When Lubrication Is Not Enough Sometimes, noise, resistance, or rough movement is not a lube issue. It could be a failing spring, a bent track, or a worn-out door opener. If you have done everything right and the door still does not operate correctly, it is time to call in someone who knows what they are looking at. For repairs or opener services, 2Quick Garage Doors Woodlands offers repair and installation throughout The Woodlands. Whether it is a minor fix or a full component swap, having an experienced installer handle it keeps your door safe and working the way it should. Conclusion Lubricating your garage door is one of the easiest ways to protect a system you rely on every day. Use the right products, focus on the hinges, rollers, torsion spring, cables, and pulleys, and stick to a regular schedule. Avoid WD-40 as a lube and keep it off the tracks.  A little consistency goes a long way toward quiet operation and a door that lasts. If you ever need a hand, 2Quick Garage Doors Woodlands is ready to help – just call (346) 574-0359.

Read More
May 11, 2026 admin No Comments

Can You Buy a Universal Garage Door Opener? What Homeowners Should Know

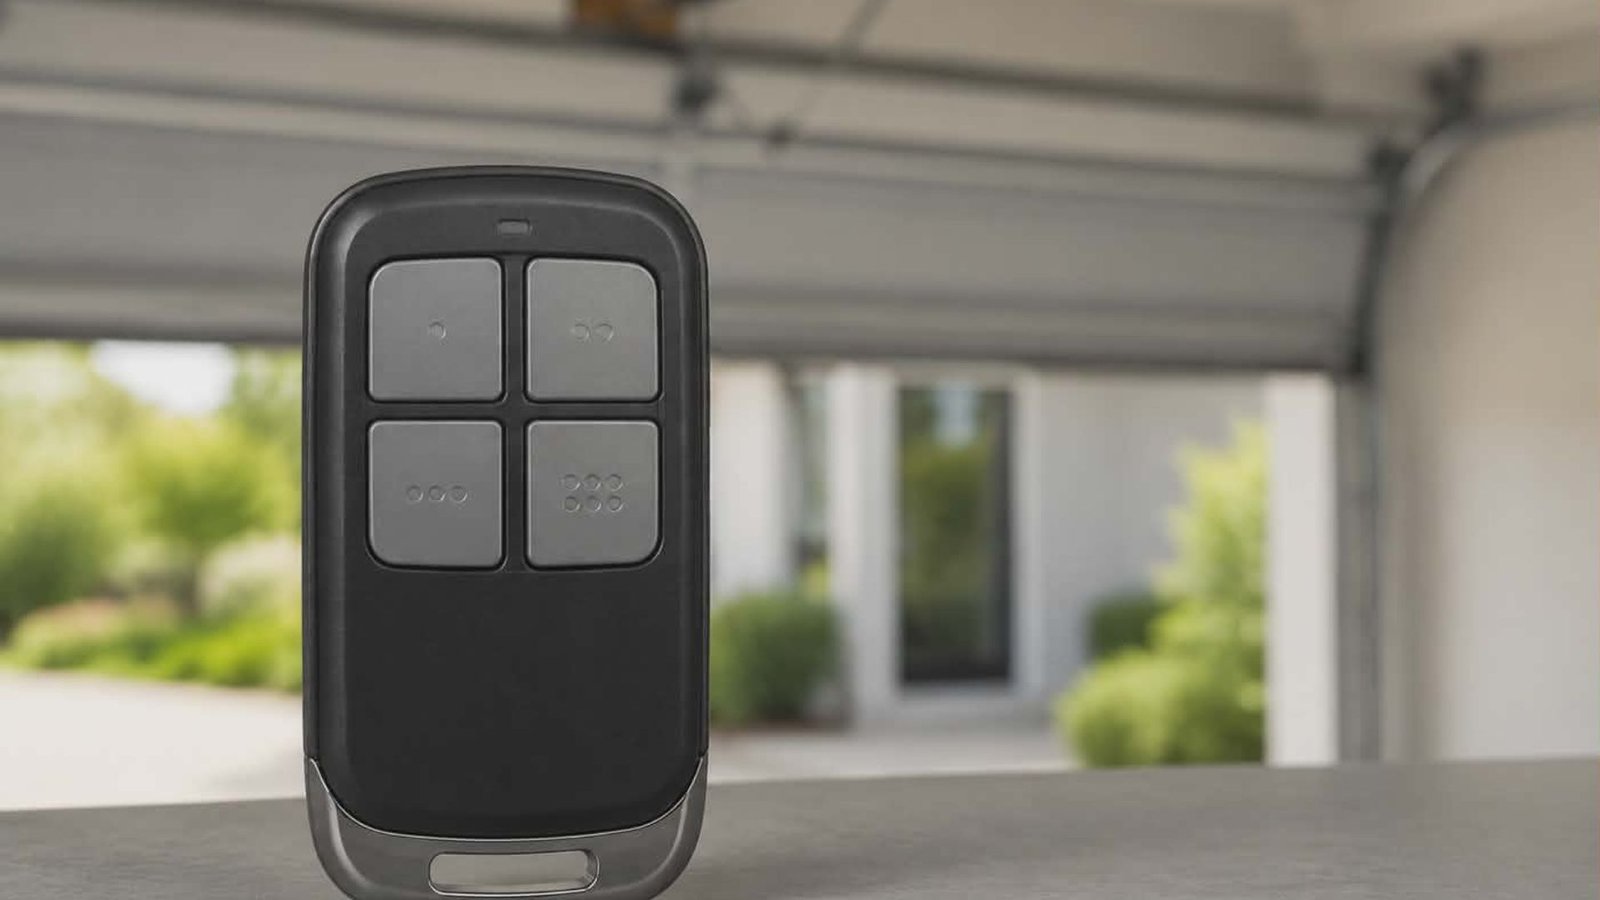
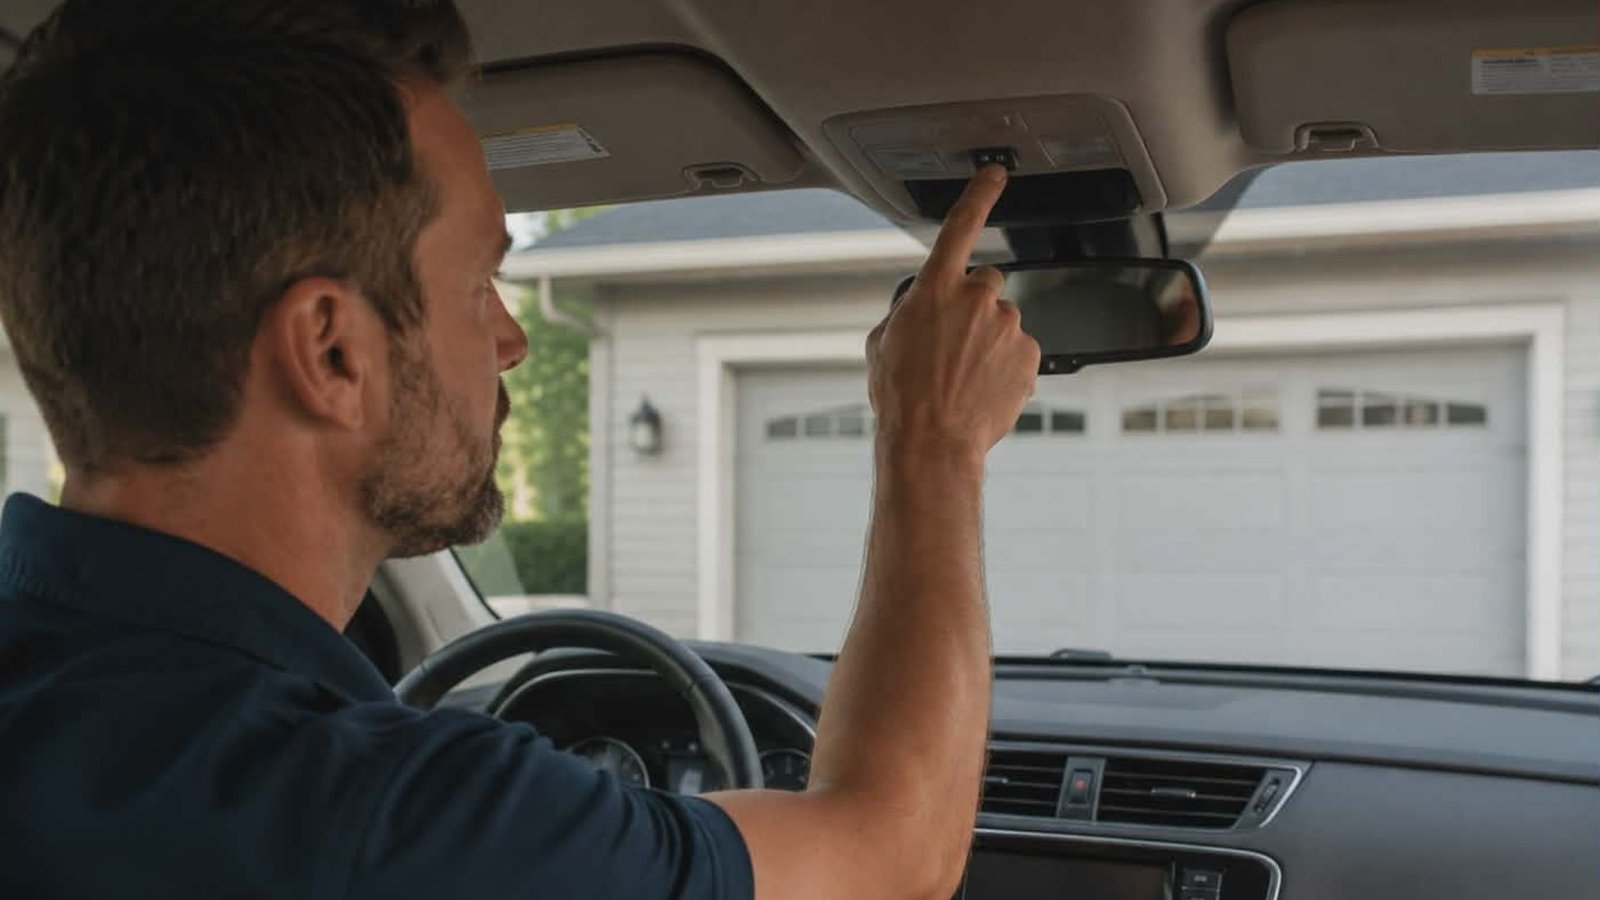
Can You Buy a Universal Garage Door Opener? What Homeowners Should Know If you’ve ever lost a remote, moved into a new home with a mystery opener, or just wanted one remote control to rule them all, you’ve probably wondered: Can you actually buy a universal garage door opener? The short answer is yes. But like most things in the world of garage doors, the details matter. Here’s what you need to know before you buy. What Is a Universal Garage Door Opener Remote? A universal garage door opener remote is a replacement or add-on remote designed to work with a wide range of garage door openers from different manufacturers. Instead of being locked into one brand’s ecosystem, a universal remote control is built to communicate with multiple systems through shared radio frequencies and programming methods. Think of it like a universal TV remote. It won’t work with absolutely every device on the planet, but it covers a wide range of brands and models under one remote. How Well Do Universal Remotes Actually Work? This depends heavily on the age and brand of your opener. Modern universal garage door remotes are designed to be compatible with major brands, including LiftMaster, Chamberlain, Craftsman, Genie, and Overhead Door. Products like the garage door opener remote 893LM and related models – including 893MAX, 891LM, 971LM, and 973LM – are popular examples that work across a broad range of systems. Some of these remotes use color-learn buttons or a 10-dip switch system for programming, depending on the age of your opener. Newer openers that are learn button ready typically pair with universal remotes quickly and with minimal effort. The key phrase here is compatibility. A remote compatible with LiftMaster Chamberlain Craftsman systems, for example, covers a huge share of residential garage door openers in use today. If your system falls outside that range, you may need a brand-specific solution. Popular Universal Remote Options Worth Knowing When you search on Amazon.com or visit a home improvement store, you’ll find a wide selection. Here are some worth noting: If you’re shopping, look for labels like works with Chamberlain, compatible with LiftMaster Chamberlain Craftsman, or controls the most popular brands to gauge how broad the compatibility is. What About a Universal Garage Door Opener Keypad? Beyond handheld remotes, a universal garage door opener keypad lets you open and close your garage door with a PIN code rather than a physical remote. These are great for garage access when you don’t want to carry a remote, or when you need to give a family member or trusted visitor access to your garage without handing over a key or remote garage button. Keypads are particularly useful for households that want flexible access to their garage without dealing with extra fobs or remotes. Can One Remote Control Multiple Garage Doors? Yes, and this is one of the biggest advantages of going universal. A multi-button or universal remote lets you manage multiple garage doors or even a gate remote from one device. If your home has 2 garage bays or separate garage doors with 2 different garage door openers, a single remote with the right programming can handle both. This is also where remote solutions shine for homeowners who simply want to simplify their setup. When a Universal Remote Won’t Cut It Some older garage door systems – specifically older openers that use fixed-code radio frequencies rather than rolling codes – may not pair cleanly with modern universal garage door remotes. If your opener predates the mid-1990s, a universal remote might not work at all. In those cases, it may be time to upgrade your garage door opener entirely. The team at 2Quick Garage Doors Woodlands offers professional garage door opener repair and installation services to help you find the right fit. Whether you want to upgrade your garage with a modern LiftMaster or Chamberlain system, or simply need your current opener assessed, professional help makes the process much easier. And if you’re dealing with a door that needs more than just a new remote, their reliable garage door repair services and routine garage door maintenance and tune-ups keep everything running smoothly year-round. Frequently Asked Questions Can I use a universal remote on a brand-new garage door opener? Most new garage door openers are learn button-ready and easy to program with a compatible universal remote. Check your opener’s manual for supported remote formats. Does a universal remote work as a gate opener remote? Some do, but not all. If you need a gate remote specifically, look for a model listed as compatible with gate systems before purchasing. Is a Craftsman garage door opener remote the same as a LiftMaster? Craftsman, Genie, and LiftMaster garage door opener systems often share technology because the Chamberlain Group manufactures products across these brands. A Chamberlain or LiftMaster remote may work across these brands with the right programming. The 2 for Chamberlain LiftMaster Craftsman labeling on many remotes reflects this overlap. Where can I find a range of garage door opener remotes? Hardware stores, Amazon.com, and specialty suppliers all carry universal garage door remotes. For help choosing the right one or installing a new system, reach out to a local technician. Conclusion Yes, you can buy a universal garage door opener remote, and for most homeowners in The Woodlands, it’s a practical and affordable solution. Whether you need a simple 2-button remote or a full upgrade with a new opener and keypad, knowing your options puts you in control. If you’re not sure what will work with your system, the experts at 2Quick Garage Doors Woodlands are ready to help. Call (346) 574-0359 to get started.

Read More
May 8, 2026 admin No Comments

Aluminum Gate Vs Iron Gate: Which Is the Better Choice for Your Home?

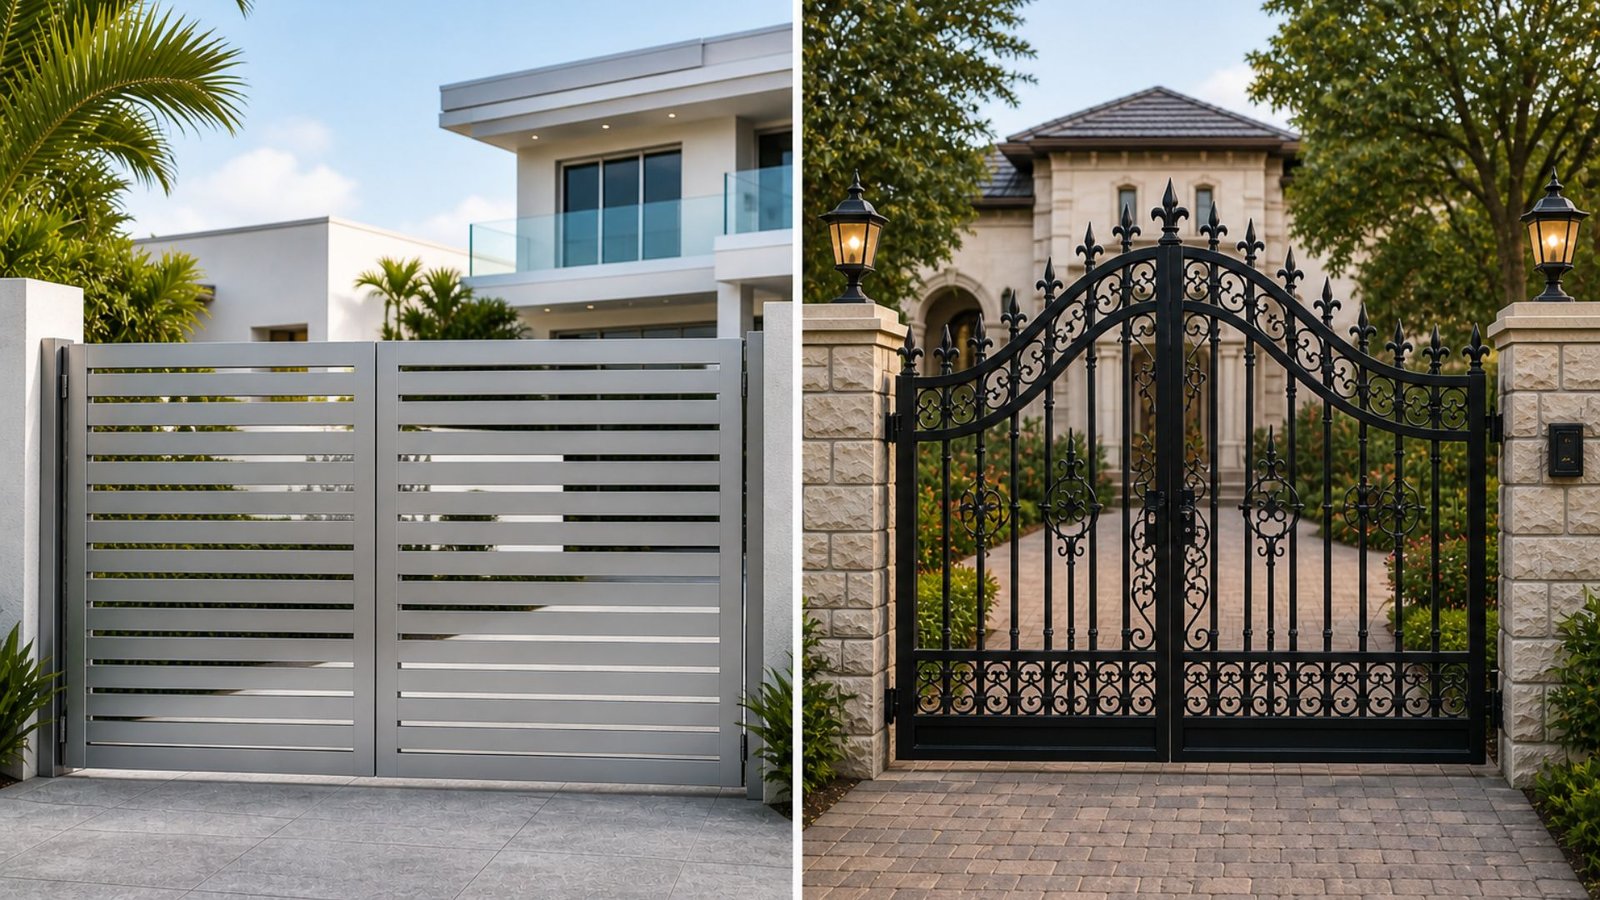
Aluminum Gate Vs Iron Gate: Which Is the Better Choice for Your Home? Choosing the right gate for your home is not as simple as picking the one that looks good in a catalog. Your gate has to handle the weather, match your home’s style, fit your budget, and last long enough to be worth the investment. Two of the most popular options homeowners consider are the aluminum gate and the wrought iron gate. Both have real strengths and real drawbacks, and knowing the difference can save you from a costly mistake. Understanding the Two Types of Metal Before comparing the two, it helps to understand what each material actually is. Wrought iron is made from iron that has been heated and worked by hand or machine. It is dense, heavy, and known for its strength and elegance. Iron gates have been used for centuries in both residential and commercial settings, and their traditional aesthetic still holds strong today. Aluminum, on the other hand, is a lightweight metal refined from ore. It does not have the same tensile strength as iron or steel, but it offers something wrought iron cannot, natural rust resistance. That is a big deal, especially in climates with high humidity or coastal winds. Durability and Longevity: How Long Will Each Gate Last? When it comes to durability, wrought iron fences and gates are among the toughest options available. A properly maintained wrought iron gate can last for decades, even generations. The strength produced by traditional fabrication makes these gates very difficult to bend or break. However, iron and aluminum behave very differently when exposed to the elements. Wrought iron is susceptible to rust and corrosion over time. Without a solid primer, powder coating, or galvanization, moisture will break down a wrought iron gate’s surface faster than many homeowners expect. In humid areas, rust can develop quickly if any part of the coating is scratched or chipped. Aluminum gates are lighter and naturally resistant to rust and corrosion. The lifespan of an aluminum fence or gate in a high-humidity environment is often longer than wrought iron simply because upkeep requirements are lower. A powder-coated aluminum gate may go years without needing significant attention. Maintenance Needs: What Are You Signing Up For? This is where aluminum options pull ahead for many homeowners. The long-term maintenance of a wrought iron gate includes regular inspections for rust spots, sanding, applying primer, and the need to repaint every few years. If corrosion gets into the metal before you catch it, repairs can become expensive. Aluminum requires minimal maintenance by comparison. You might need to wash it down occasionally and check the powder coating for chips, but the corrosion resistance built into the material does most of the work for you. Aluminum gates are lighter and easier to clean, which makes upkeep less of a chore week to week. If you want a gate that mostly takes care of itself, aluminum is worth serious consideration. Aesthetics and Curb Appeal: Which One Looks Better? This is where wrought iron fences shine. The aesthetic appeal of wrought iron is hard to replicate. The ornate scrollwork, decorative elements like the classic finial, and the overall look of wrought iron give a property an air of sophistication that aluminum designs struggle to fully match. That said, aluminum fence and gate designs have come a long way. Many aluminum options are crafted to look like wrought iron, and with powder coating available in a wide range of colors, you can achieve a similar fence design without the weight of steel or the upkeep of iron. For homeowners who want elegance without the hassle, modern aluminum designs offer a genuinely attractive alternative. Both types of metal can boost curb appeal significantly. The better choice really comes down to how important that classic, ornamental look is to you. Cost: What Does Each Option Run? Iron gates are more expensive upfront. The higher price tag reflects the weight of steel and iron, the complexity of fabrication, and the installation complexity involved in setting a heavier structure. Proper footing and hardware are required to support wrought iron gates, which adds to labor costs. Aluminum gates generally cost less to purchase and are easier to install, which reduces labor expenses. Over time, the savings on upkeep and the need to repaint also make aluminum a more budget-friendly option for many homeowners. If you need high-security fencing where both strength and corrosion resistance are priorities, galvanized steel or combinations of iron and steel may be worth the higher price. For standard driveway gates and residential use, aluminum delivers solid value. Which Gate Material Is Right for You? Here is a straightforward way to think about it. If you want maximum security, traditional aesthetic, and decorative appeal, and are willing to invest in long-term maintenance, a wrought iron gate is a strong choice. If you want something that is long-lasting, lower maintenance, and more affordable without sacrificing good looks, aluminum is better than wrought iron in several practical ways. For help deciding or getting either option installed properly, the team at 2Quick Garage Doors offers professional gate installation, and reliable gate repair services in The Woodlands, TX. We also provide expert garage door installation and repair services. Conclusion Both aluminum and iron gates have genuine value depending on your priorities. Iron delivers strength and timeless beauty. Aluminum offers rust resistance, lighter weight, and lower upkeep. Think about your climate, budget, and how much maintenance you are willing to do before making a final call. If you are ready to move forward, reach out to 2Quick Garage Doors Woodlands at (346) 574-0359. Their team is ready to help you find the right gate and get it installed the right way.

Read More
May 6, 2026 admin No Comments

8 Automatic Gate Troubleshooting Solutions

8 Automatic Gate Troubleshooting Solutions An automatic gate is one of the best investments you can make for your home or business. It adds security and convenience without requiring you to step out of your vehicle every time you come and go. But like any mechanical system, things can go wrong, and when they do, it can feel overwhelming if you don’t know where to start. The good news? Many common problems with automatic gates are easier to fix than you’d expect. This troubleshooting guide will walk you through the most frequent issues, what causes them, and how to get your gate back up and running as quickly as possible. Why Your Automatic Gate Isn’t Working: Start Here Before you call anyone, take a few minutes to observe what’s actually happening. Is the gate not opening at all? Does it open partially and stop? Is it making an unusual noise? Your answers will point you toward the right fix. The first thing to check is always the power supply. Without a consistent voltage reaching your gate opener, nothing else will work correctly. Check whether your circuit breaker has tripped; a power outage can reset or shut down the system. If the circuit breaker looks fine but the gate still isn’t responding, inspect the transformer and wiring connections near the motor housing. Loose electrical connectors or corroded wires can interrupt the signal and prevent the gate opener from receiving commands. Common Gate Opener Problems and How to Fix Them Remote Control Issues One of the most common causes of a gate not opening is a problem with the remote control or keypad rather than the gate itself. If you press the button and nothing happens, replace the batteries first. It sounds obvious, but dead batteries are responsible for more service calls than you’d think. If new batteries don’t help, the issue may involve signal interference. Nearby electronic devices, including Wi-Fi routers, radio transmitters, and other electronics, can disrupt the signal between the remote and the gate opener. Try operating the remote from different distances and angles. When signal interference isn’t the culprit, check whether you need to reprogram the remote. Refer to your gate opener’s manual for instructions to reprogram the remote, since the steps vary by brand. Most systems have a “learn” button on the receiver that allows you to re-sync your remotes. Gate Not Opening or Closing Fully If your automatic gate isn’t traveling all the way open or closed, the limit switch is likely the problem. The limit switch tells the gate opener how far to move in each direction. When it’s misaligned or worn, the gate may stop short or reverse before completing its cycle. Check the limit switch settings on your gate opener’s control board and adjust them according to the manufacturer’s instructions. This is one of those issues that’s fixed with simple adjustments in most cases, but it requires careful attention to avoid over-correcting. Sensor Malfunctions Safety sensors are a critical part of any automatic gate system. They detect obstructions in the gate’s path and prevent the gate from crushing objects or people. If your sensors are dirty, misaligned, or damaged, the gate may refuse to open or close even when nothing is blocking it. Inspect the sensor lens on both sides of the gate. Dust, debris, spider webs, and moisture can all cause false readings. Wipe the lens clean and make sure both sensors are pointed directly at each other. If the alignment is off, the gate opener will interpret this as an obstruction and stop operation. Wiring can also be a problem here. Check the wires running from each sensor back to the control board for signs of wear, corrosion, or a short circuit. Damaged wiring that causes sensor malfunctions is more common than most people realize. Troubleshooting an Automatic Gate Opener That Won’t Run Check the Motor and Control Board If your automatic gate opener powers on but the gate won’t move, check the motor and control board for error indicators. Many modern gate openers display fault codes on a small screen or use LED blinks to communicate what’s wrong. Consult your manual to decode these signals. The actuator, the component that physically moves the gate, should also be inspected. For swing gate openers, the actuator arm connects the motor to the gate hinge. For a sliding gate, the actuator drives a gear and rack system along the bottom of the gate. If the actuator is seized, damaged, or disconnected, the gate won’t move regardless of what commands the opener receives. Manual Mode as a Diagnostic Tool Most gate openers include a manual mode that allows you to operate the gate by hand when power is unavailable or during troubleshooting. Switching to manual mode helps you determine whether the problem is mechanical or electrical. If the gate moves smoothly in manual mode, the issue is almost certainly in the opener’s electrical components, the control board, actuator, or wiring. If the gate is stiff or hard to move manually, you’re likely dealing with a mechanical problem such as a worn-out roller, a damaged hinge, or debris caught in the track. Power Issues and Solar Panel Systems Electric gate openers that rely on a solar panel for power can experience unique power issues, especially during extended cloudy periods. Check whether the solar panel is clean and positioned to receive full sunlight. A dirty or shaded panel may not generate enough voltage to keep the battery charged. Use a multimeter to measure the battery’s voltage. Most automatic gate systems run on extra-low voltage DC power, so a reading significantly below the rated voltage means the battery needs to be replaced. If the breaker continues to trip after a power outage, there may be a short circuit in the system that requires a closer inspection. Mechanical Issues That Prevent the Gate From Moving Hinges, Rollers, and Moving Parts The gate’s moving parts take a lot of abuse over time. For swing gate openers, inspect each

Read More
May 4, 2026 admin No Comments

How to Use Your Garage Door Manual Release Safely in an Emergency

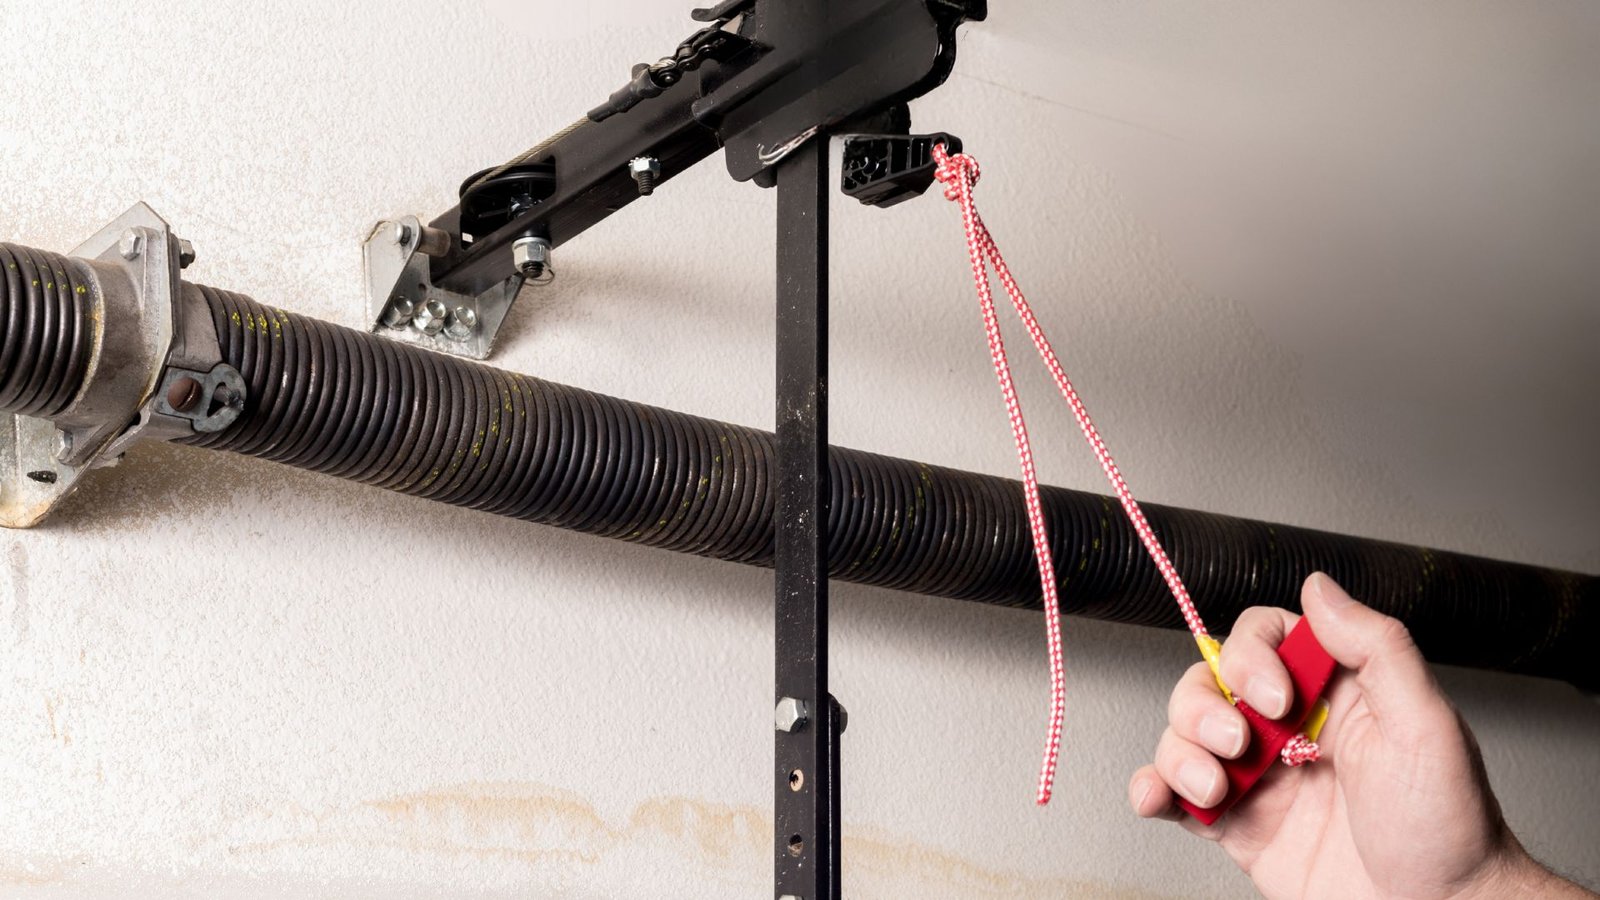
How to Use Your Garage Door Manual Release Safely in an Emergency Picture this: the power goes out, your garage door opener stops responding, and you are stuck inside or outside with no obvious way through. It is a frustrating situation, but there is a built-in solution most homeowners overlook – the manual release. Knowing how to use it correctly can save you time, stress, and even keep you safe. What Is the Manual Release on a Garage Door? Every automatic garage door opener is equipped with a manual release mechanism. This is typically a red rope that hangs from the trolley, which is the moving component that slides along the track and pulls the door up and down. Pulling the cord disconnects the door from the opener so you can operate the door by hand. Brands like Chamberlain, LiftMaster, and Genie all include this feature on their openers. The design may vary slightly, but the function is the same across most overhead doors. When Should You Use the Manual Release? The most common reason to manually open and close your garage door is during a power outage. When the power supply is cut, your automatic garage door opener remote will not work, and the door will not respond to the switch or button inside. Another reason might be a failure of the garage door opener itself, such as a broken sensor, damaged manual cable, or mechanical issue that prevents normal opening and closing. It is also useful during troubleshooting when a technician needs the door disconnected from the automatic opener temporarily. How to Open Your Garage Door Manually, Step by Step Before you start, make sure the garage door is fully closed. Attempting to disengage the opener while the door is partially open can cause the door to come crashing down, especially if you have a broken spring. If you suspect a spring issue, do not attempt manual operation; contact a technician for garage door spring repair and replacement before proceeding. Here is how to safely open your garage door manually: How to Reconnect the Trolley After Power Is Restored Once the power is restored, you will need to re-engage the opener so your automatic garage doors work normally again. This step is called reconnecting the trolley to the opener carriage. To reconnect the trolley, simply pull the release cord again, this time toward the door rather than downward. On many Genie and Chamberlain models, you can also reengage the system by pressing the button on your garage door opener remote. The opener carriage will catch the trolley as it moves, and you will hear it click back into place. Then test the door with your opener to confirm it is properly connected to the opener. If the door does not respond after reconnecting, or if the manual release does not disengage properly, it may point to a deeper mechanical issue. This is a good time to schedule garage door opener repair or routine maintenance. A Note on Automatic Garage Door Safety Garage doors are among the heaviest moving parts in a home. An automatic garage door opener is not just about convenience; it also controls the speed and tension of the door. When the opener is disconnected, that safety control is removed. Always lift the door manually with care and never leave it unattended while open. If your door feels off-balance or difficult to lift, the springs may need attention. Worn springs are a key reason manual operation becomes dangerous. Reach out for garage door spring repair and replacement before the problem gets worse. For homeowners looking to upgrade or replace older systems, exploring new garage door installation in The Woodlands is a smart long-term investment. Conclusion Using your garage door manual release does not have to be complicated. Pull the red rope, lift the door, and re-engage when power returns. The key is doing it safely and knowing when to call for help. If your opener, springs, or door itself is not performing the way it should, the team at 2Quick Garage Doors Woodlands is ready to help. Call (346) 574-0359 or visit garagedoorswoodlandstx.com to get reliable garage repair support when you need it most.

Read More
April 22, 2026 admin No Comments

How To Seal Garage Door Sides And Keep Out Drafts, Rain, And Pests

How To Seal Garage Door Sides And Keep Out Drafts, Rain, And Pests If you have ever walked into your garage and felt a cold breeze coming in from the sides of your door, you are not imagining things. Gaps along the sides of a garage door are one of the most common and overlooked problems homeowners deal with. These gaps let in drafts, rainwater, insects, rodents, and even dust that slowly builds up over time. The good news is that sealing the sides of your garage door is a manageable project. You do not need to be a contractor to get it done, but you do need to understand what you are working with and why it matters. Why Sealing Your Garage Door Sides Actually Matters Most people think of a garage as just a place to park a car or store boxes. But if your garage is attached to your home, it shares walls, air, and sometimes pests with your living space. A poorly sealed garage door can drive up your energy bills, let humidity in during Texas summers, and become an open invitation for critters looking for shelter. In The Woodlands, Texas, the weather can shift quickly. You might deal with heavy rain and flooding one week and dry, windy conditions the next. Without a proper side seal, your garage acts like a funnel for whatever the weather decides to throw your way. Beyond comfort and energy savings, there is also the issue of structural damage. Water that sneaks in through the sides of your garage door can damage flooring, walls, and anything stored inside. Over months and years, that kind of moisture exposure adds up. Understanding How Garage Door Side Seals Work Before you can fix the problem, it helps to know what you are dealing with. A garage door side seal, also called a door stop weatherstrip, is the strip of material that runs vertically along both sides of your garage door frame. Its job is to create a tight seal between the door and the door jamb when the door is closed. These seals are usually made of rubber, vinyl, or a combination of both. They flex slightly to accommodate the movement of the door while still blocking gaps. Over time, they crack, compress, or pull away from the frame. Common Signs Your Side Seals Need Replacing You might not notice the problem right away, but there are clear warning signs to watch for: If any of these sound familiar, your garage door side seals are likely the culprit or at least part of the problem. What You Need Before You Start Sealing your garage door sides is a relatively straightforward DIY project, but going in prepared makes the whole process faster and cleaner. Here is what you will need: Most weatherstrip kits designed for garage doors come with everything you need, including the hardware. Look for kits specifically labeled for garage door side seals rather than standard door or window weatherstripping, which may not be designed to handle the weight and movement of a garage door. How To Seal Garage Door Sides: Step-By-Step Step 1: Inspect the Current Seals and Frame Start with a thorough inspection. Close your garage door completely and look at the sides from both inside and outside. Check for gaps, cracks, or areas where the existing seal has pulled away from the frame. Also, look at the door jamb itself. If the wood is rotted, warped, or damaged, you may need to address that before installing a new seal. A new seal on a broken frame will not give you the result you are looking for. Step 2: Remove the Old Weatherstrip Use your flat pry bar to gently remove the old seal. Be careful not to damage the door jamb in the process. If the seal is nailed or stapled in, work slowly to pull it away cleanly. Once the old seal is removed, clean the surface. Old adhesive, dirt, or debris on the door frame will prevent the new seal from sitting flush and sealing properly. Step 3: Measure and Cut the New Seal Measure the height of your garage door from top to bottom on each side. Cut your new weatherstrip to match. It is better to cut it slightly long and trim the excess than to cut it too short. Most side seals come with a fin or lip that presses against the door to create the seal. Make sure you understand the orientation before you start attaching it. Step 4: Attach the New Seal Position the new seal along the door jamb so that the fin or flexible lip presses lightly against the closed door. It should not push so hard that it strains the door opener or causes the door to stick, but it needs to make solid contact to block drafts and rain. Use the nails or staples to secure the seal, spacing them every six to eight inches for a consistent hold. Work from the top down to keep the seal aligned as you go. Step 5: Check the Fit and Make Adjustments Once both sides are done, close the door and check for any remaining gaps. Run your hand along the edges to feel for drafts. If you notice any spots where the seal is not making contact, you may need to reposition that section or add a secondary bead of caulk along the outer edge of the frame. Do Not Forget the Other Parts of Your Garage Door Seal Sealing the sides is important, but your garage door has three other contact points that deserve attention, too. The Bottom Seal The bottom seal sits along the base of the garage door and contacts the floor when the door closes. It is the first line of defense against rain, pests, and cold air. If it is cracked or flattened, replace it along with the side seals. The Top Seal The top of the garage door also needs a seal

Read More
April 20, 2026 admin No Comments

7 Sagging Gate Solutions That Actually Fix the Problem Fast

A sagging gate is one of those problems that seems minor at first. Then one day you notice the latch no longer lines up, the gate swings unevenly, or it drags across the ground every time you try to open it. If any of that sounds familiar, you are not alone. Gate sag is one of the most common complaints among homeowners, and the good news is that most cases are fixable without replacing the entire gate. Here are seven solutions that actually work. This is the first place to look. A loose or worn gate hinge is often the root cause of sag. Over time, screws work themselves loose, wood compresses, and the hinge starts pulling away from the post. Use an adjustable wrench to tighten any loose hardware, including the nut and washer on each bolt. If the wood around the hinge is stripped or soft from moisture, the screw holes need to be filled with a wood repair compound before reinstalling. An anti-sag gate kit is one of the most practical home improvement tools for this problem. The kit typically includes a cable turnbuckle, wire cable, and corner brackets that work together to pull the gate frame back into square shape.  You run a diagonal wire from the top corner of the latch side down to the bottom corner near the hinge side, then use the turnbuckle to apply tension. Customers find that the gate returns to its original position quickly, and multiple reviews confirming its success can be found on Amazon and similar retail platforms. The anti-sag gate kit is easy to install, even for someone without much DIY experience. Most hardware kits come with instructions and all the necessary fittings, including a galvanized-treated cable and self-drilling screws designed for wood or steel. If your gate keeps sagging after minor repairs, a turnbuckle kit gives you adjustable tension that you can fine-tune over time. The cable railing concept used in deck and patio installations translates well here. A support cable kit in zinc or galvanized steel wire is especially durable against corrosion and rust caused by weather exposure. This approach works particularly well on a heavy-duty gate or double gate where weight is a consistent stress factor. To tighten the turnbuckle, simply rotate the center barrel to shorten the wire rope and pull the diagonal brace tighter. Avoid overtightening, which can loosen the opposite corner or warp the gate frame. For a sagging wooden gate or wood fence gate that lacks internal support, adding a diagonal brace is a structural fix. A steel or treated wood brace running from the top of the hinge side to the bottom of the latch side redistributes weight and prevents future sag. This technique is standard practice when building a new gate and can be retrofitted into an existing gate door using adjustable angle brackets and screws. Bent, rusted, or misaligned corner brackets are often overlooked. These small pieces of hardware hold the gate frame together under constant pressure, especially in warm and humid climates. Inspect each bracket carefully, and replace any that show signs of rust or visible bending. Swage toggle turnbuckle hardware, combined with fresh brackets, can restore the gate to proper alignment without a full reinstallation. A saggy gate is sometimes a post problem, not a gate problem. If the wood posts or fence post the gate is mounted to has shifted, rotted, or heaved from soil movement, no amount of hardware adjustments will hold. The post needs to be reset or replaced entirely. This is especially true for a wood fence, vinyl fence, or steel chain link fence where the post carries a significant lateral load. If the gate was assembled without proper materials from the start, a gate building kit with an anti-sagging fence gate steel system may be the cleanest solution. These kits are designed as door repair kits for outdoor use and include hardware for wooden fences and other gate types. A full kit installation typically restores smoother latch alignment and more consistent gate movement, making it a reliable option for recurring sag problems. A properly built front gate or farm gate starts with the right kit. When DIY Is Not Enough Sometimes the damage is beyond what a repair kit or turnbuckle can fix. If your gate is severely warped, the installer made structural errors during the original build, or the entire post system needs attention, professional help is the smarter call.  The team at 2Quick Garage Doors offers reliable gate repair services in The Woodlands and handles everything from minor hardware fixes to full replacements. If you are starting fresh, their professional gate installation services in The Woodlands, TX, ensure the job is done right the first time. They also offer routine garage door maintenance services to keep everything operating smoothly year-round. Conclusion Gate sag does not fix itself, but it is rarely a reason to panic or spend a fortune. Whether you need a simple hinge tightening, an anti-sag gate kit, or a full post reset, there is a solution that fits your situation. Start with the basics, work your way up, and do not ignore excess cable or loose hardware when you see it.  If you are in The Woodlands and need a hand, 2Quick Garage Doors is ready to help. Call (346) 574-0359 to get started.

Read More