The Ultimate Garage Door Tune-Up Checklist to Keep Your Door Running Like New
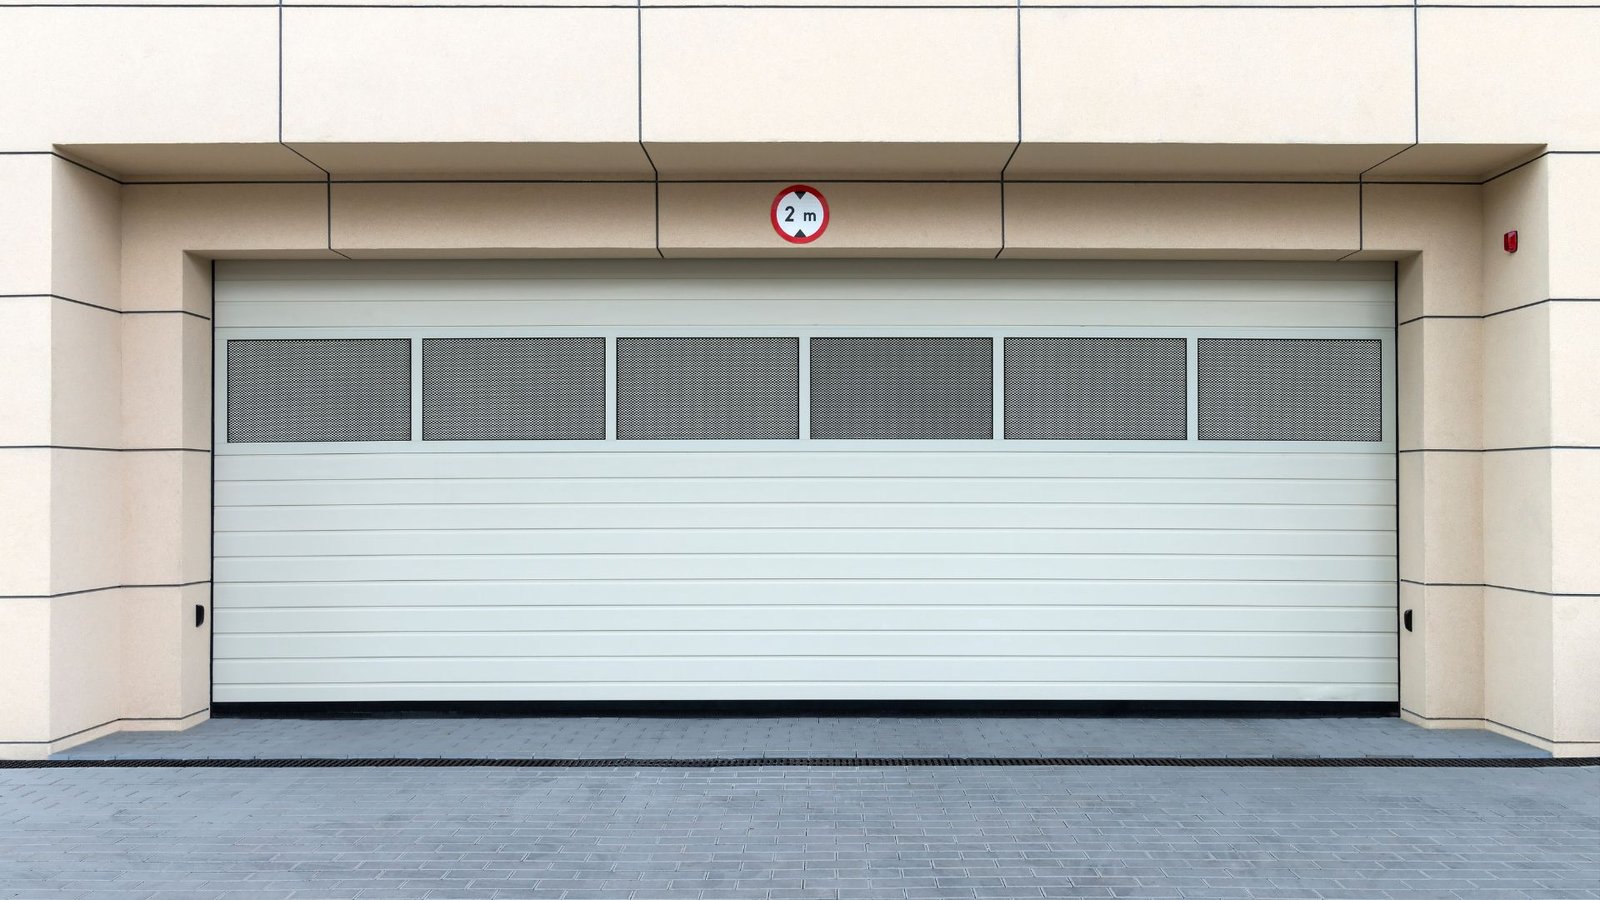
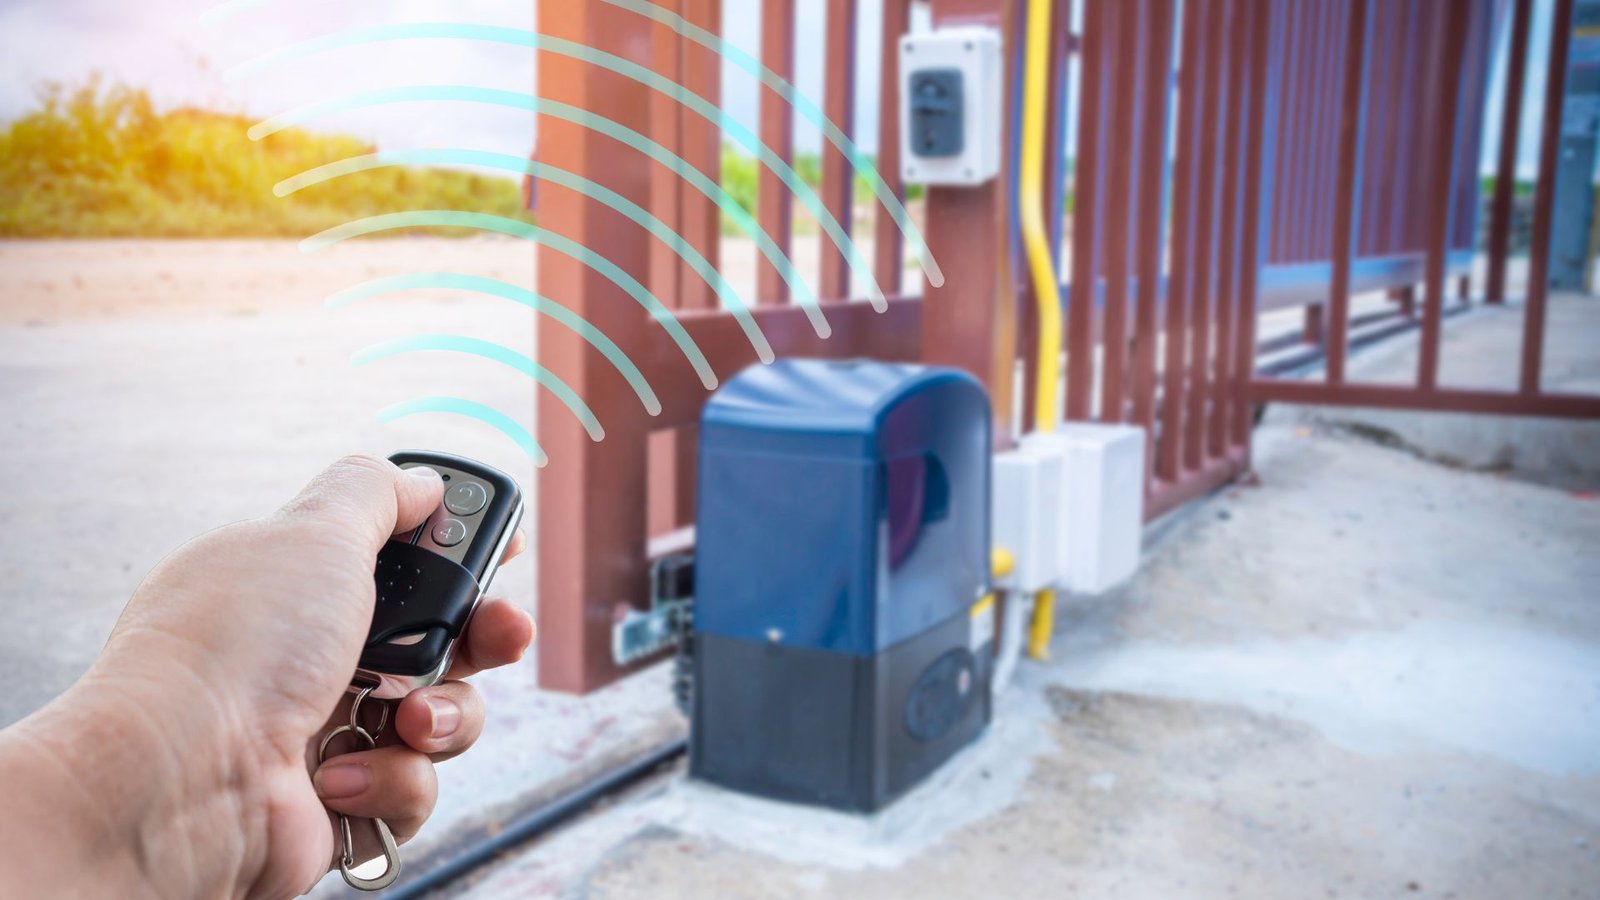
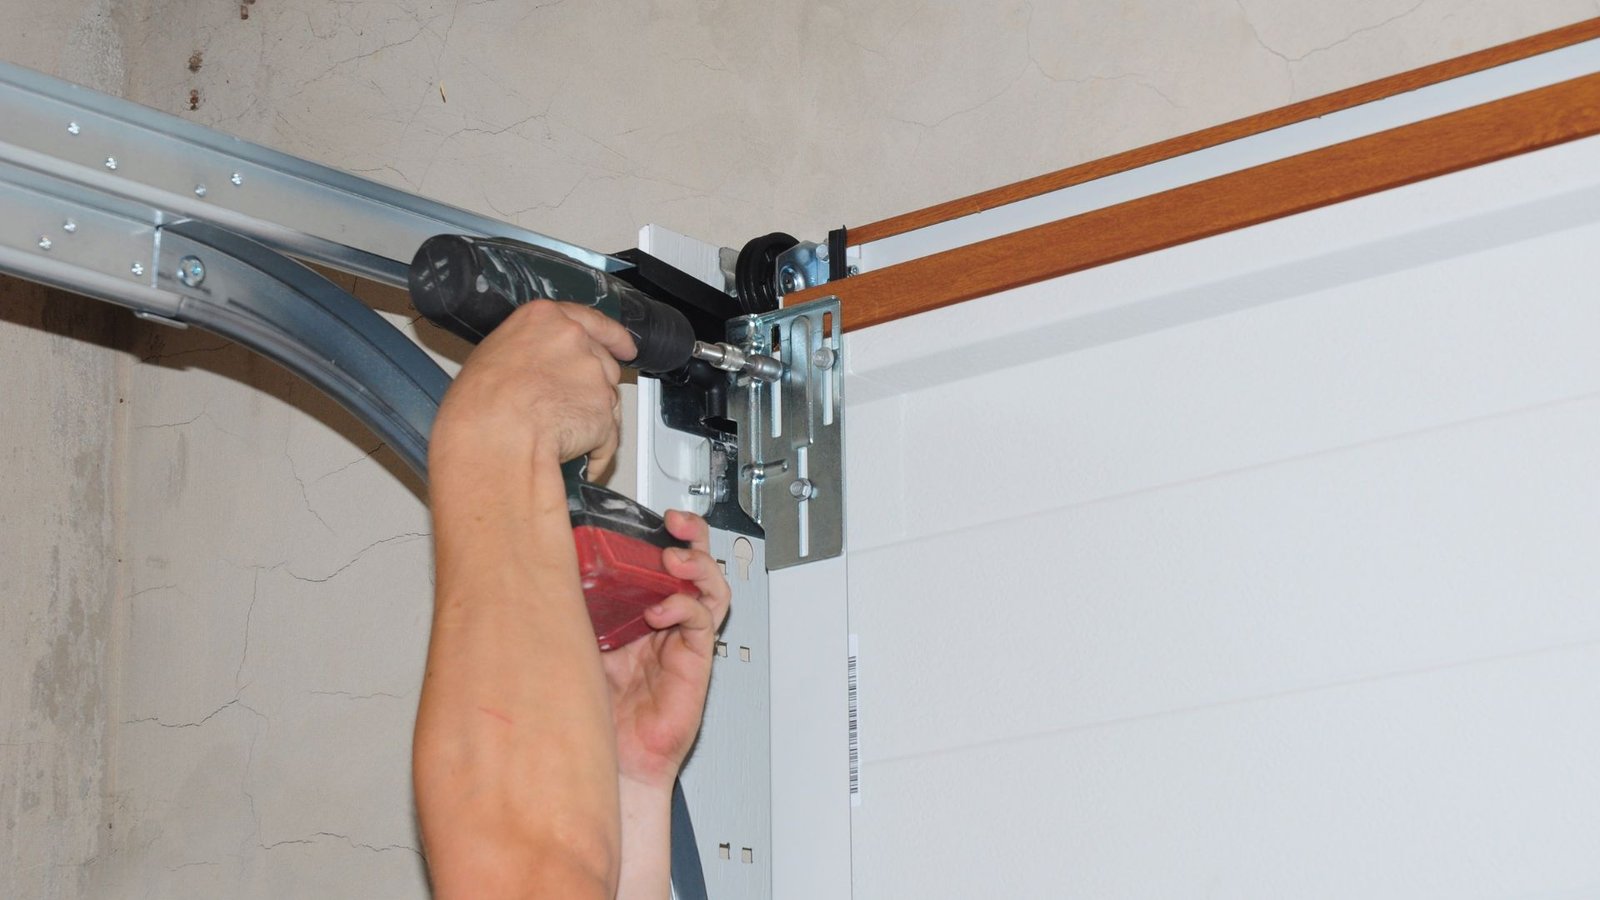
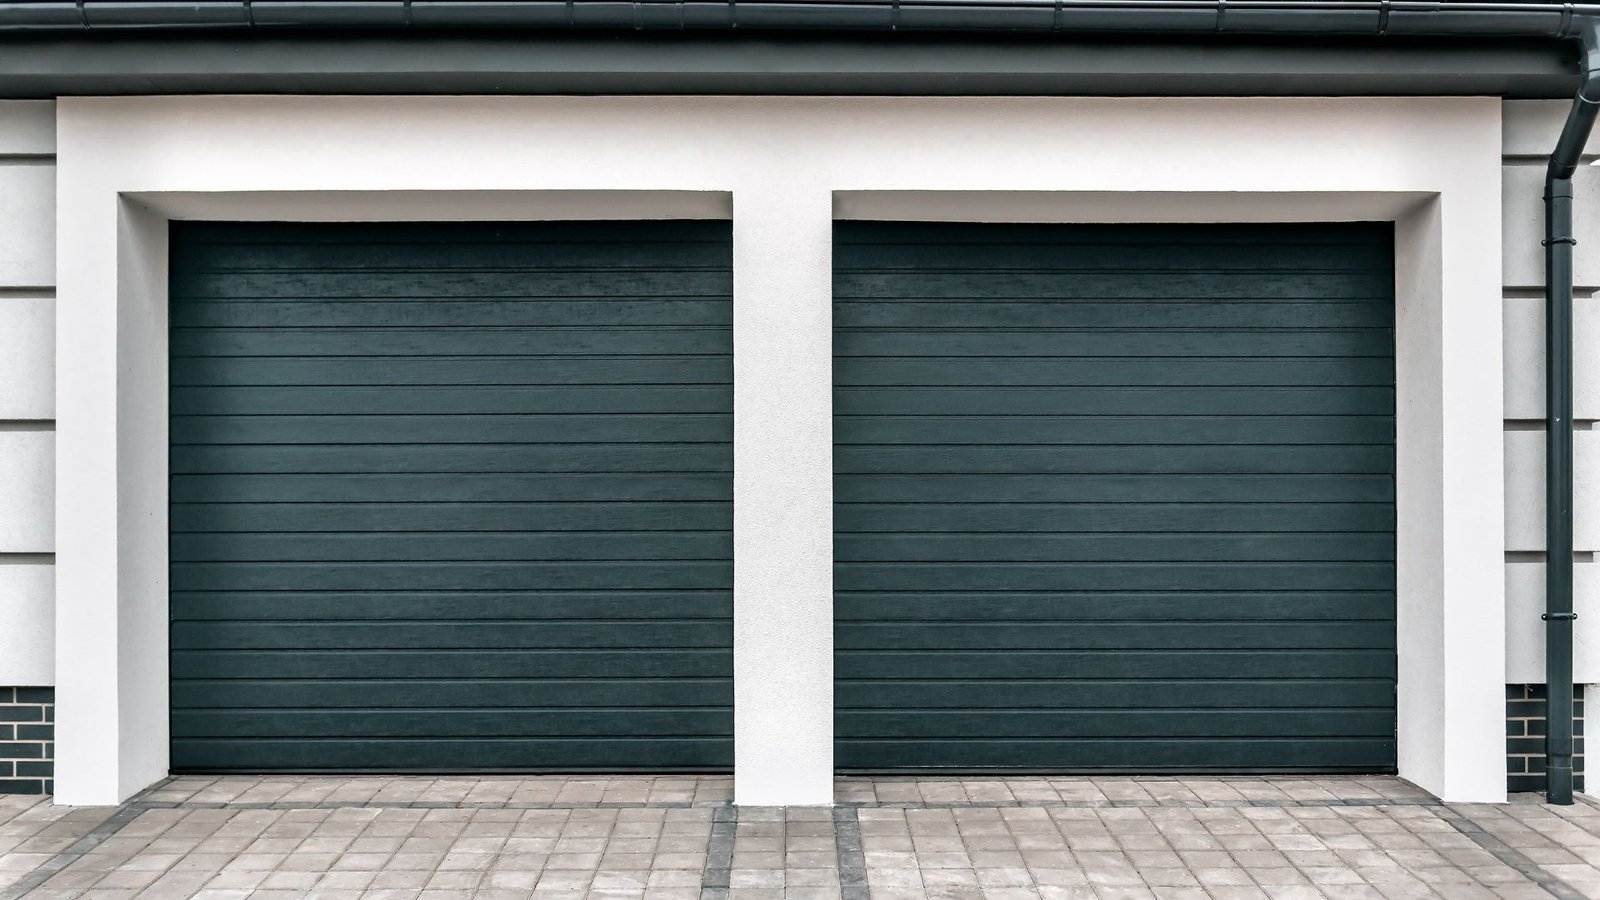
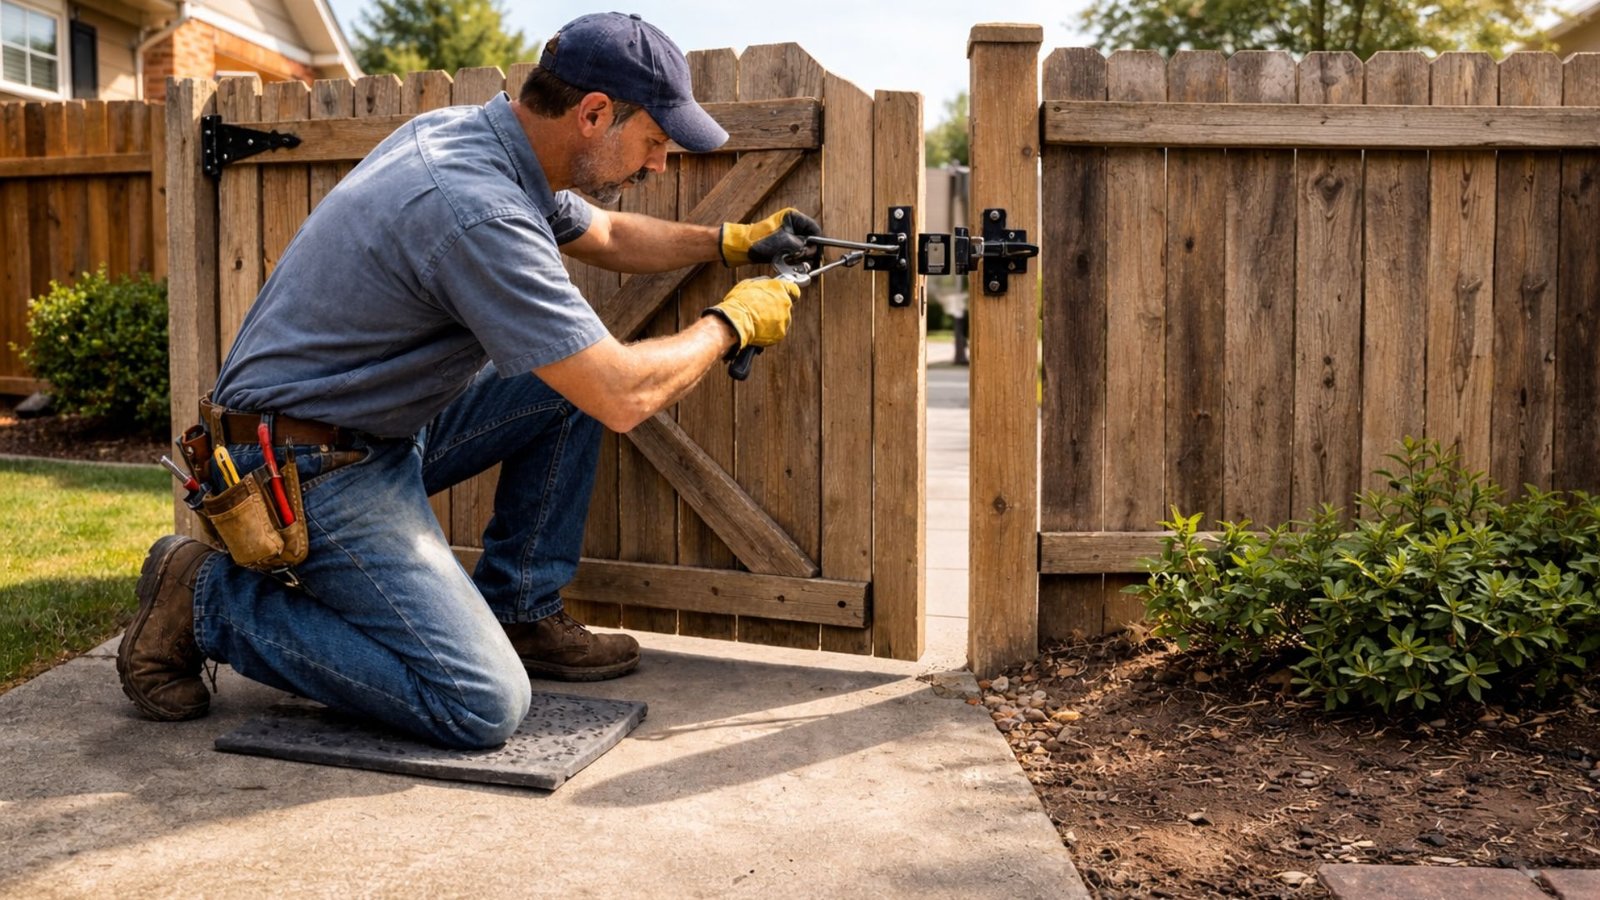
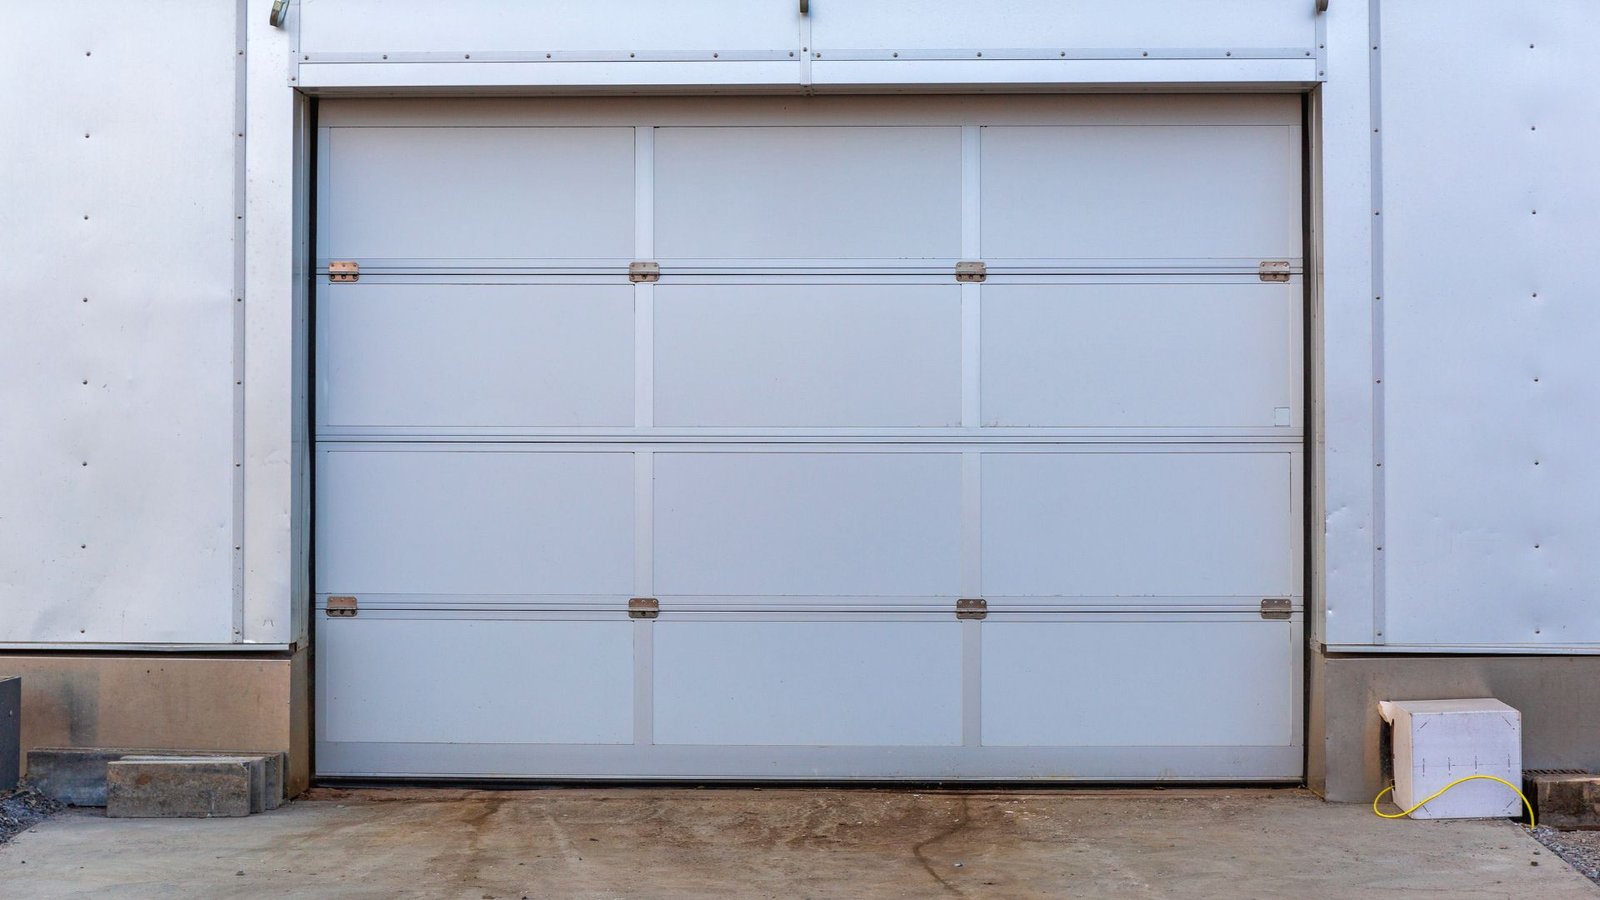
Your garage door is one of the hardest-working parts of your home. It opens and closes hundreds of times a year, faces heat, humidity, and general wear and tear, and most homeowners never give it a second thought until something goes wrong. The good news? A simple tune-up can go a long way toward keeping everything operating smoothly and helping you prevent costly repairs later. This guide gives you a practical garage door maintenance checklist you can work through at home, plus clear guidance on when it’s time to call a professional. Why Regular Maintenance Actually Matters Every garage door has moving parts – rollers, hinges, cables, springs, and a garage door opener, all working together every single time you use it. Without attention, friction builds up, components wear down, and small problems quietly turn into expensive ones. Scheduling yearly garage door maintenance, or at least a simple monthly visual check, is one of the easiest ways to extend the life of your garage door and avoid surprise breakdowns. Think of it the same way you think about changing the oil in your car. Preventive maintenance is always cheaper than emergency repairs. Your Complete Garage Door Checklist Start with a Visual Inspection Before touching anything, just watch and listen. Open and close the door a few times and pay close attention. Does it vibrate? Does it squeak or grind? Does it stay in place when you stop it halfway, or does it drift? These are all clues. Next, inspect the door panels and look for any dents, cracks, or signs of wear that could affect the door’s structure or appearance. Check the weatherstripping along the bottom and sides; worn or cracked weatherstripping lets in moisture, debris, and energy loss from your garage space. Inspect the Hardware Walk along the tracks and look for gaps, bends, or misaligned sections. Misaligned tracks can cause the door to operate unevenly or bind up completely. Use a wrench to tighten any loose bolts or brackets you notice on the track system, but do not attempt to adjust the tracks themselves if they appear bent. That’s a job for a trained technician. Check each roller for signs of wear or cracking. Worn rollers make noise and create unnecessary friction on the tracks. Most rollers can be replaced without special tools, though nylon rollers tend to last longer and run quieter. Inspect each hinge connection point along the door. A loose or cracked hinge can cause the door panels to separate or bind as the door moves. Lubricate the Moving Parts Proper lubrication is one of the most overlooked maintenance tasks homeowners skip. Use a silicone-based lubricant or a dedicated garage door lubricant, not WD-40, which is a cleaner, not a long-term lubricant. Here is what to lubricate: Clean the tracks with a dry cloth first, then lubricate as listed above. This keeps the door running smoothly and reduces the friction and noise that builds up over time. Test the Safety Sensors Your overhead door has photo eye sensors near the bottom of the tracks on each side. These safety sensors are designed to prevent the door from closing if something is in the path. To test them, place a small obstruction (like a cardboard box) in the path of the door and try to close it. The door should reverse immediately. If the door does not reverse, check if the sensors are misaligned or if there is debris blocking the eye. Clean the sensor lenses and realign them until the indicator lights are steady. If it still fails, that is a safety issue that needs prompt attention. Check the Auto-Reverse and Balance Disconnect the opener by pulling the red emergency release cord. Manually lift the door to about waist height and let go. A properly balanced door should stay in place without drifting up or down. If it moves on its own, the springs may need adjustment. The auto-reverse feature is part of the garage door and opener safety system. If the auto-reverse is not working correctly, contact a professional before using the door again. Do Not DIY the Springs or Cables Tasks involving springs or cables are not safe DIY garage door work. The torsion spring and lift cables operate under extreme tension and can cause serious injury if mishandled. Springs or cables that look frayed, broken, or corroded should be inspected and serviced by a technician only. For garage door spring repair and replacement, reach out to a qualified pro who has the right tools and training. Check Your Opener and Replace the Battery Test your garage door opener with both the wall button and the remote. Replace the battery in your remote if the response is slow or inconsistent. Also, check that the opener’s safety precautions and settings, including force limits and travel limits, are set correctly. If the opener is making unusual noise or failing to operate the door consistently, consider looking into garage door opener repair and installation options before the problem gets worse. When to Call a Pro A DIY tune-up handles a lot, but not everything. You should call a pro when you notice broken springs or cables, the door is off its tracks, the opener fails consistently, or sensors keep malfunctioning after cleaning and realignment. Trying to push through potential issues with components under extreme tension can cause the door to operate in ways that are dangerous. The team at 2Quick Garage Doors Woodlands offers routine garage door maintenance services, professional garage door repair, and new garage door installation services for homeowners who want the job done right. Conclusion A yearly maintenance routine does not take long, but it makes a real difference in how your garage door performs and how long it lasts. Use this checklist to help keep your garage door operating safely season after season. For anything beyond the basics, or if you want a full inspection from someone who knows every garage door’s quirks inside and out, call 2Quick Garage Doors Woodlands