
Lithium Vs Silicone Grease For Garage Door: Which Lubricant Keeps Your Door Quieter And Smoother?
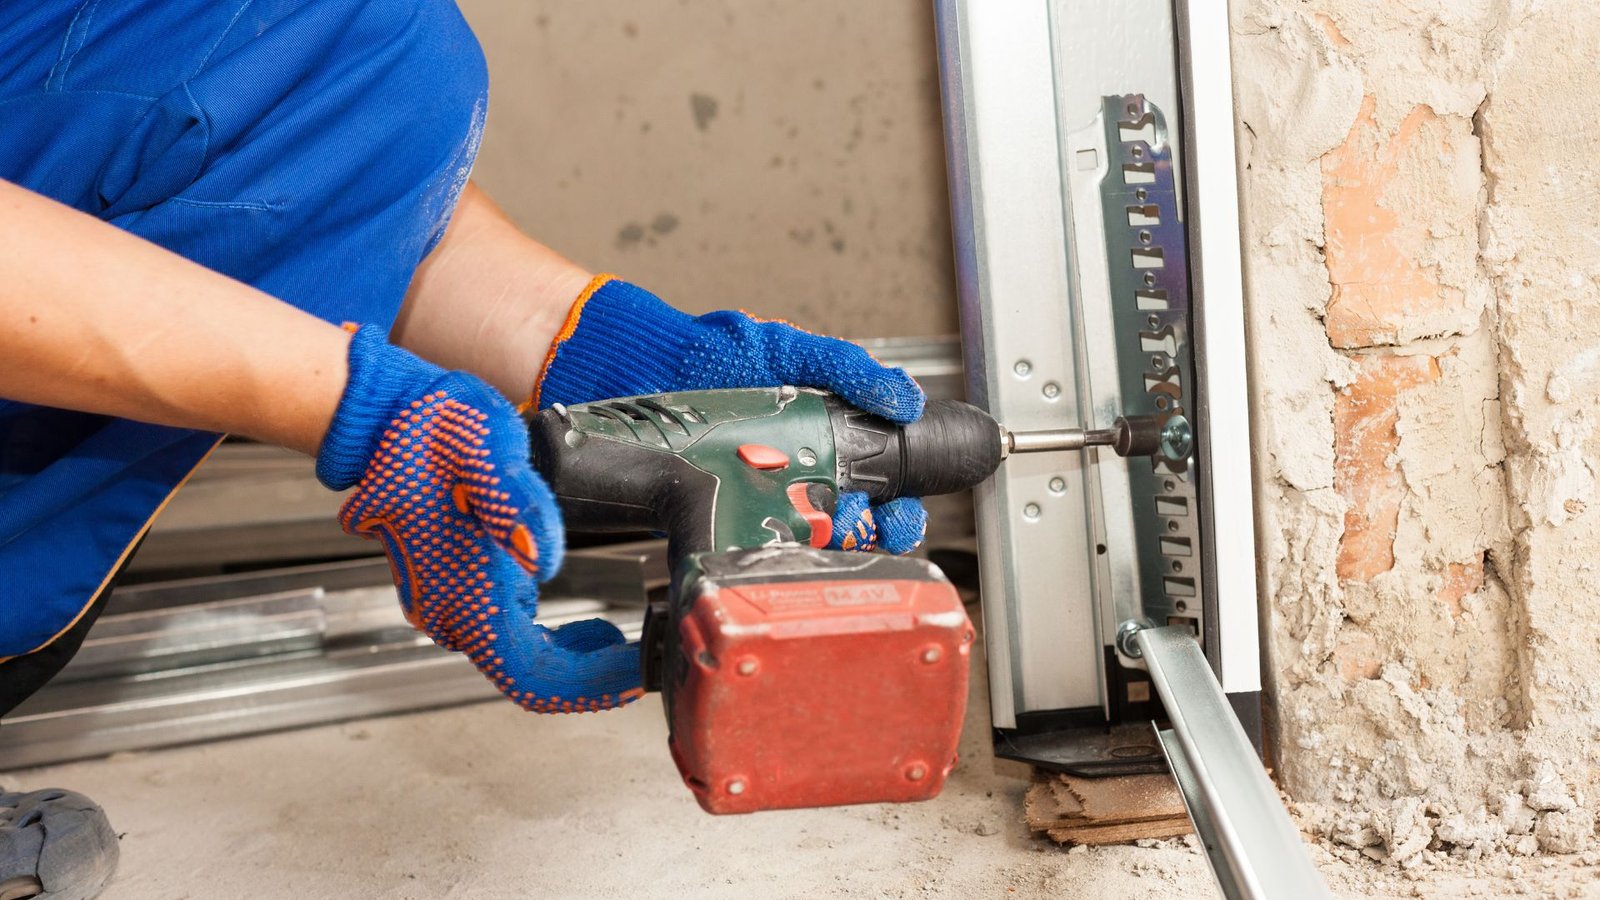
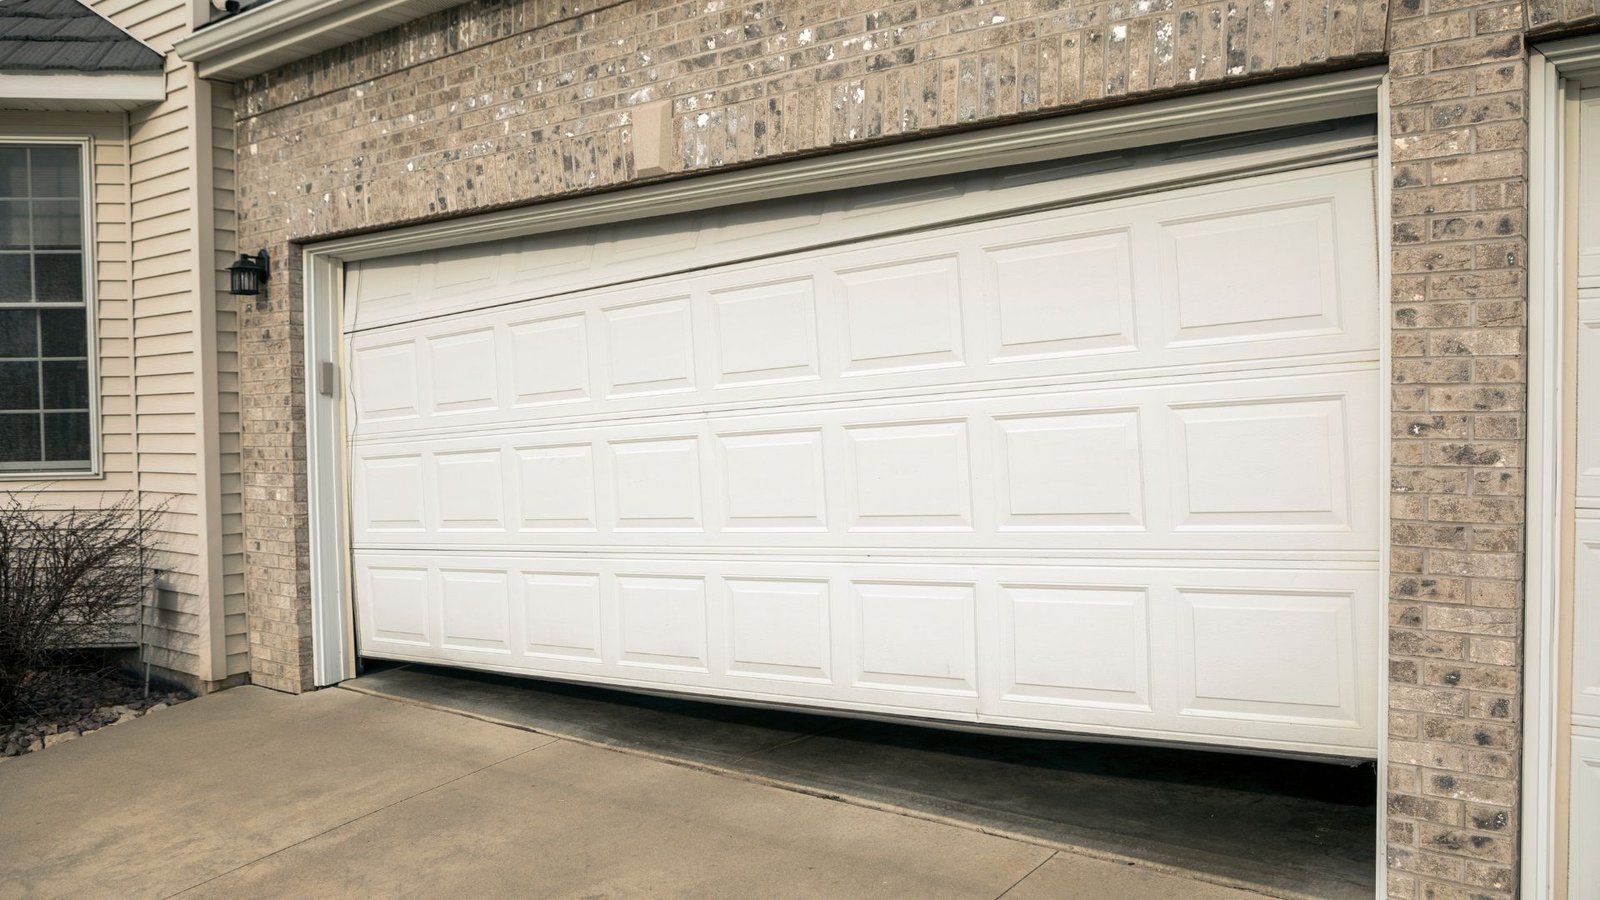
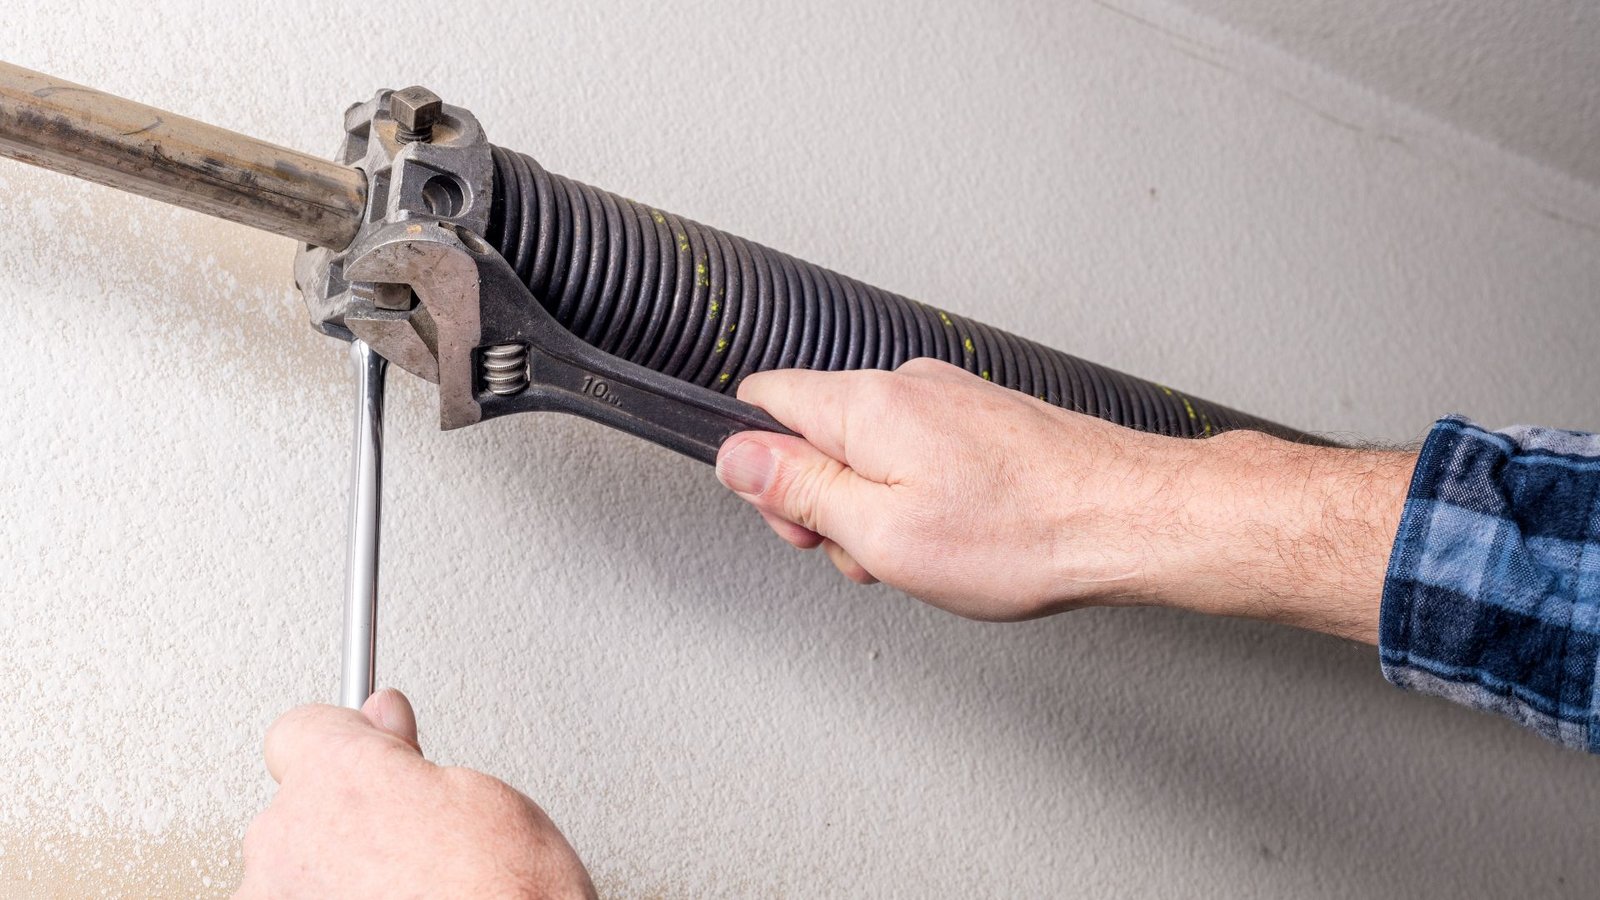
Lithium Vs Silicone Grease For Garage Door: Which Lubricant Keeps Your Door Quieter And Smoother? If your garage door has started squeaking, grinding, or shaking the whole house when it moves, you are not alone. Many homeowners in The Woodlands, Texas, ask the same question: Should I use lithium or silicone grease? It sounds simple, but choosing the right lubricant can mean the difference between a smooth door and one that keeps waking up the neighbors. The wrong product can attract dirt, cause buildup, or even damage certain parts. The right one improves lubrication, reduces friction, and protects against rust and corrosion. Let’s break it down in plain English so you can make the best choice for your garage door. Why Garage Door Lubrication Matters More Than You Think Your garage door is the largest moving system in your home. It has rollers, hinges, torsion springs, bearing plates, pivot points, and a garage door track that all work together every time you open and close it. These moving parts experience friction every single day. That friction leads to wear and tear, noise, and eventually expensive repairs. Proper garage door lubrication helps: Without regular lubrication, ball bearings dry out, rollers grind, and hinge joints stiffen. Heat, temperature fluctuations, and harsh weather conditions only make it worse. That is why choosing the right grease matters. What Is White Lithium Grease? White lithium grease is a lithium-based grease thickened with lithium soap. It is widely used as a heavy-duty lubricant for metal parts that handle loads and pressure. You may have seen products like WD-40 Specialist White Lithium Grease or WD-40 White Lithium on store shelves. The WD-40 company created several specialty products beyond the traditional spray, and this is one of them. How White Lithium Grease Works White lithium grease forms a thick, protective layer over metal surfaces. It offers: Strong lubrication and protection Because of its higher viscosity, it sticks well to parts like bearings, axle components, and torsion springs. It is long-lasting and does not drip easily. This makes it a solid choice for garage systems that operate under weight and pressure. What Is Silicone Grease? Silicone grease is made from Silicone oil mixed with a thickener. It is a synthetic chemical substance designed to repel water and handle temperature changes. You will often find it in silicone spray or aerosol form. Silicone lubricants are popular because they are less messy and safe for metal, plastic, and even natural rubber parts. How Silicone Grease Works Silicone-based lubricants create a slick film that reduces friction without becoming sticky. They are known for: Unlike heavier grease, silicone grease does not attract dust as easily. That makes it helpful for areas exposed to the elements. Lithium Vs Silicone: Key Differences for Garage Door Use Both products are technically greases, but they behave very differently on the moving parts of your garage. Here is how they compare. Thickness and Staying Power White lithium grease is thicker. It stays in place on high-friction components like wheel bearings, roller bearings, and bearing plates. If you want strong protection for metal rollers or ball bearing assemblies, lithium often lasts longer. Silicone grease is thinner and cleaner. It spreads easily but may not stay as long under heavy pressure. If your door systems see constant door open and close cycles, lithium may provide more durability. Dirt and Debris Attraction Thicker grease can attract dirt and dust over time. That buildup can clog certain parts, especially if applied too heavily. Silicone grease tends to repel debris better. For dusty garage door components, this can be an advantage. This is important in an overhead door that is frequently exposed to the elements. Dust and dirt mixed with thick grease can increase friction instead of reducing it. Weather and Moisture Performance In The Woodlands, weather conditions include high humidity, heat, and sudden temperature swings. White lithium grease offers solid protection against rust and corrosion. It handles heat and provides waterproofing qualities. Silicone grease excels at water resistance. It does not break down as quickly in high humidity and helps repel moisture effectively. If your garage is not climate-controlled, both can work, but choosing the right one depends on the specific part. Where to Use White Lithium Grease on a Garage Door White lithium grease is often considered the best lubricant for heavy-duty metal contact. It works well for: Some professionals prefer to use white lithium grease with a grease gun for precise control. Others use a lithium spray version in aerosol form. Products like WD-40 Specialist White Lithium Grease or even Blaster Garage Door spray are commonly used specifically for garage doors. If you use white lithium grease, apply it lightly. Too much can create buildup. You want a thin coating that provides lubrication and protection without clogging the pivot points. Where to Use Silicone Grease on a Garage Door Silicone grease or silicone spray works well on: Because silicone-based lubricants are safe for rubber and plastic, they are a safer choice if your garage system includes non-metal pieces. Many homeowners prefer silicone spray lube for easy application and less mess. It is also helpful for light lubrication, where heavy grease or oil would be overkill. What About WD-40? This part causes the most confusion. Standard WD-40 is primarily a water displacement product, not a long-term garage door lubricant. It is great to remove any dirt, loosen stuck parts, or provide temporary help. But do not rely on it alone. If you use WD-40, use it to clean first, then apply the lubricant designed for lubrication. If you really want a WD-40 company product for ongoing protection, look for WD-40 Specialist formulas like their lithium spray. Those are built for lubrication rather than short-term fixes. In other words, do not just spray and hope for the best. Step-by-Step: How to Lubricate Your Garage Door Properly If you enjoy a little do-it-yourself care, here is a simple step-by-step approach to lubricating your garage door safely. This promotes reducing friction and ensuring