Sliding vs Swing Gate: Which Option Boosts Security and Curb Appeal Better?
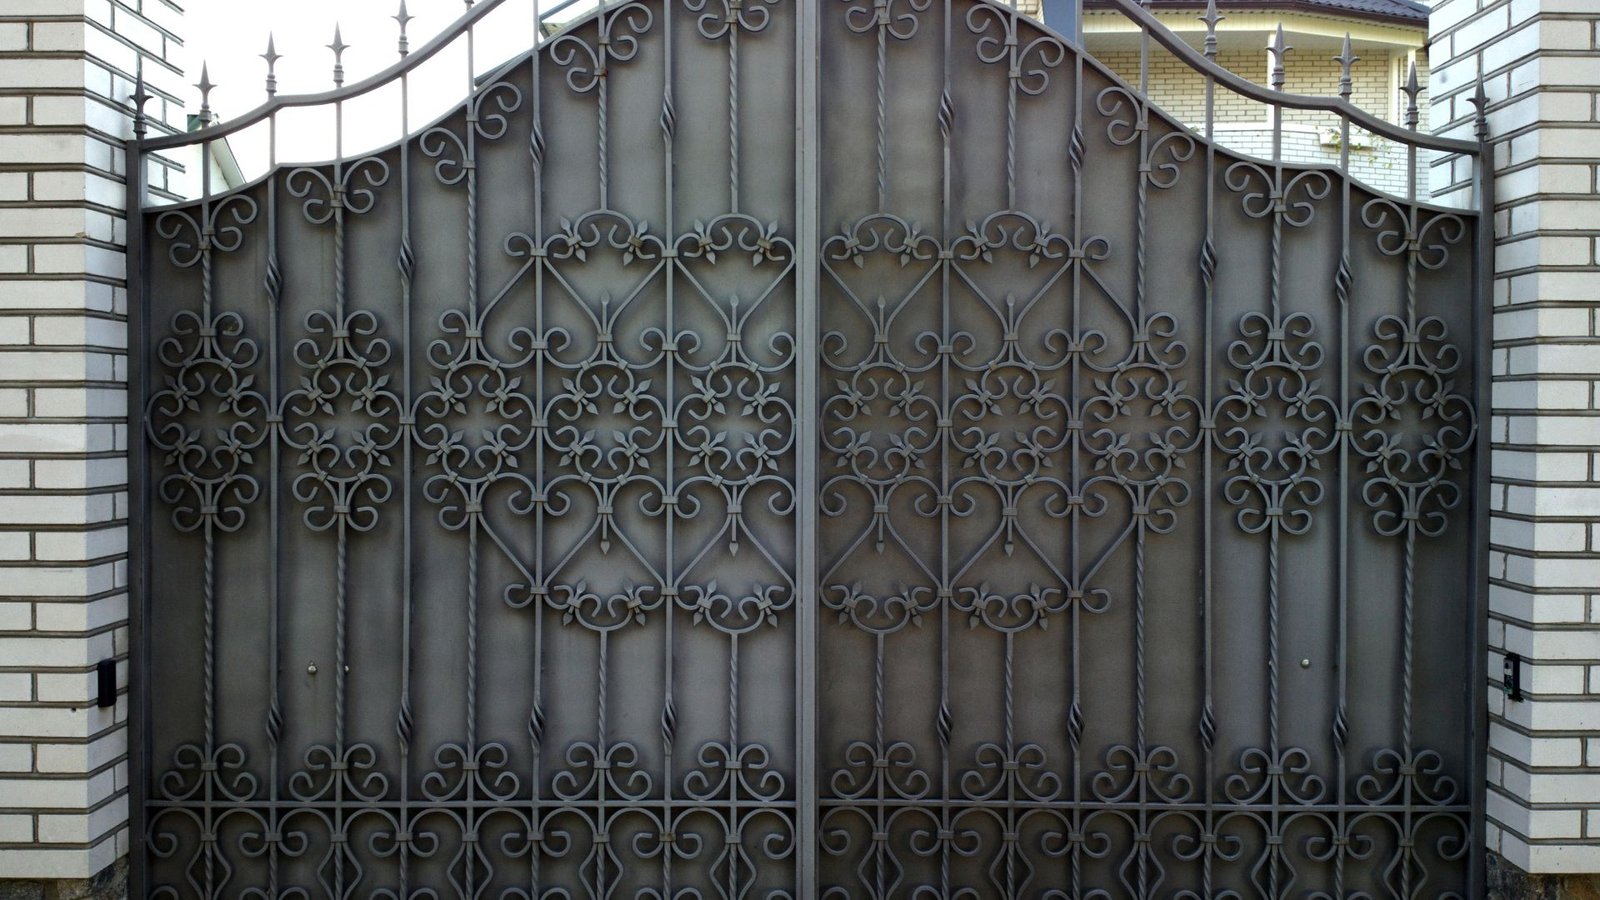
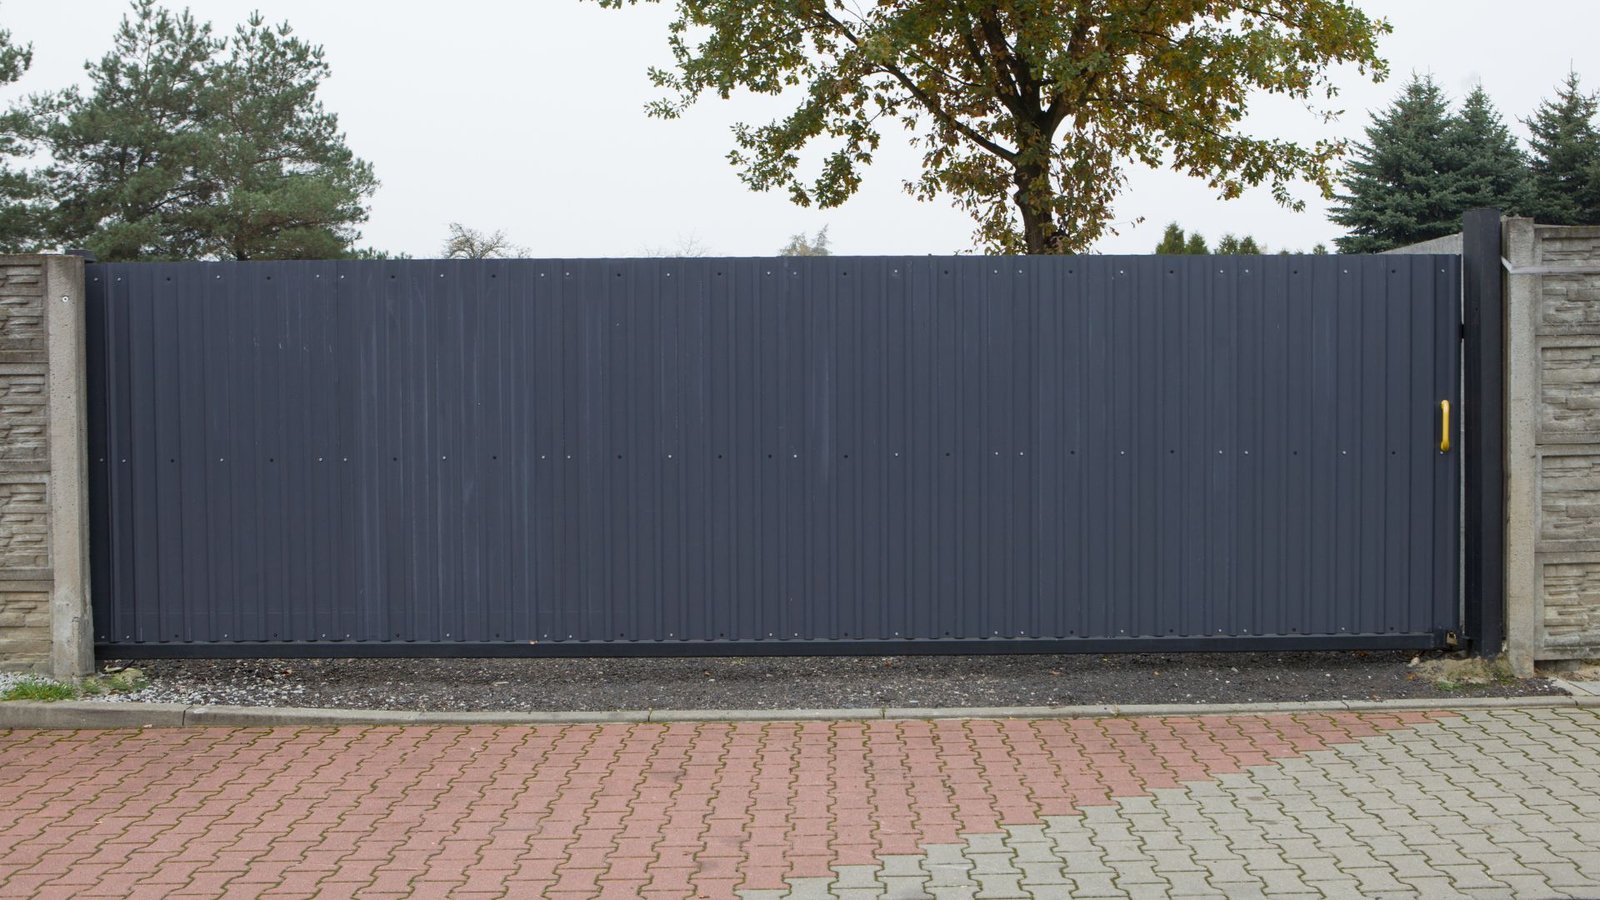
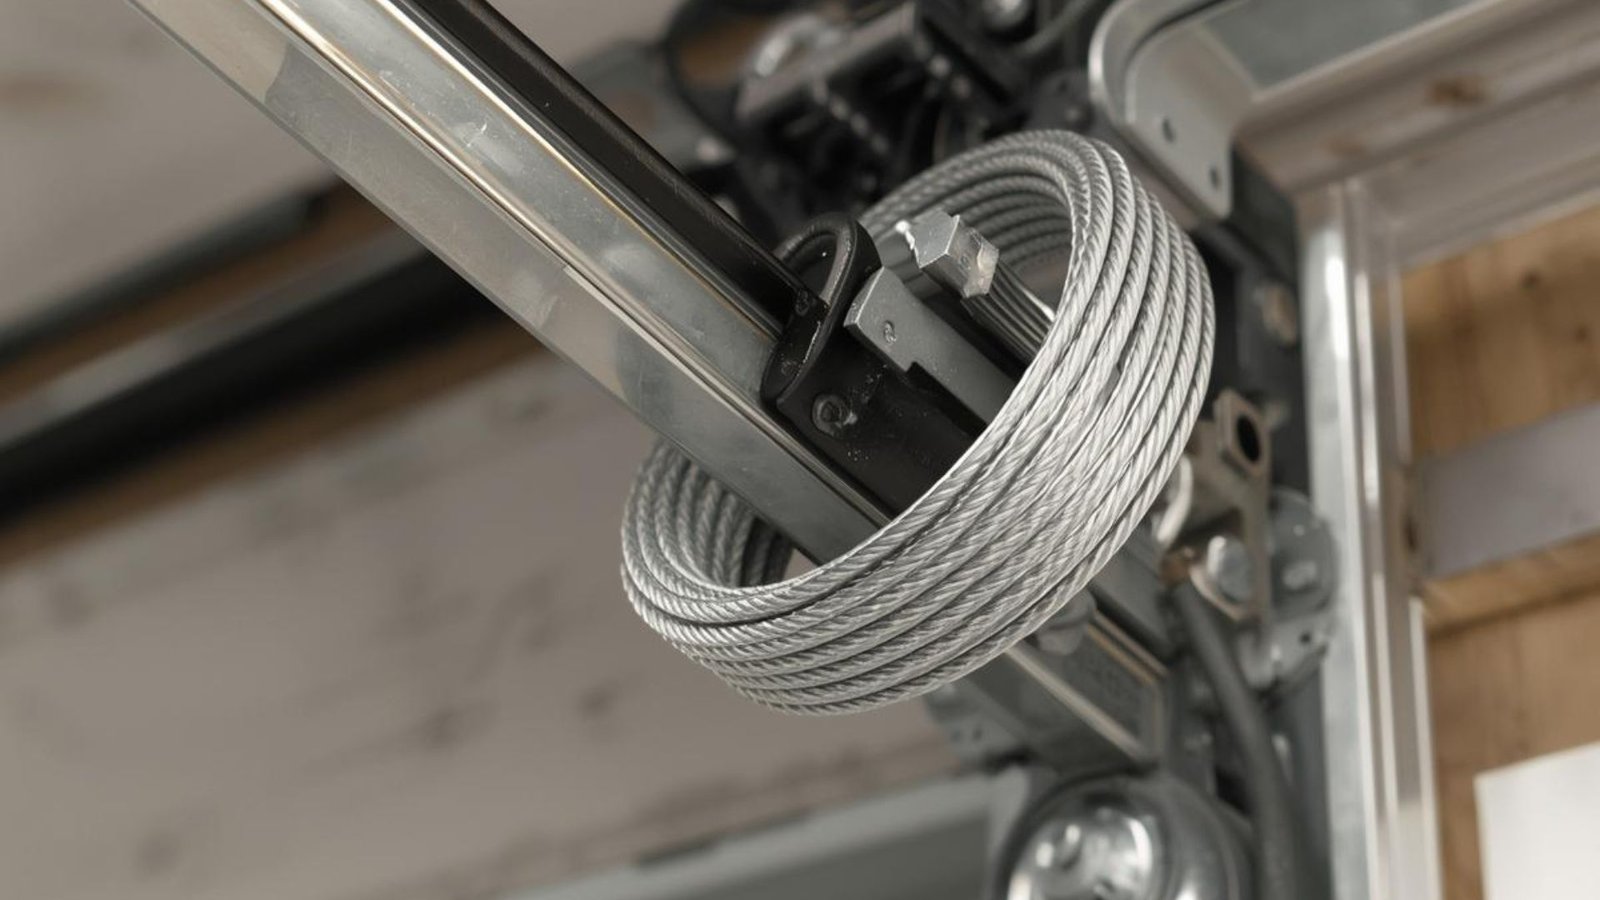
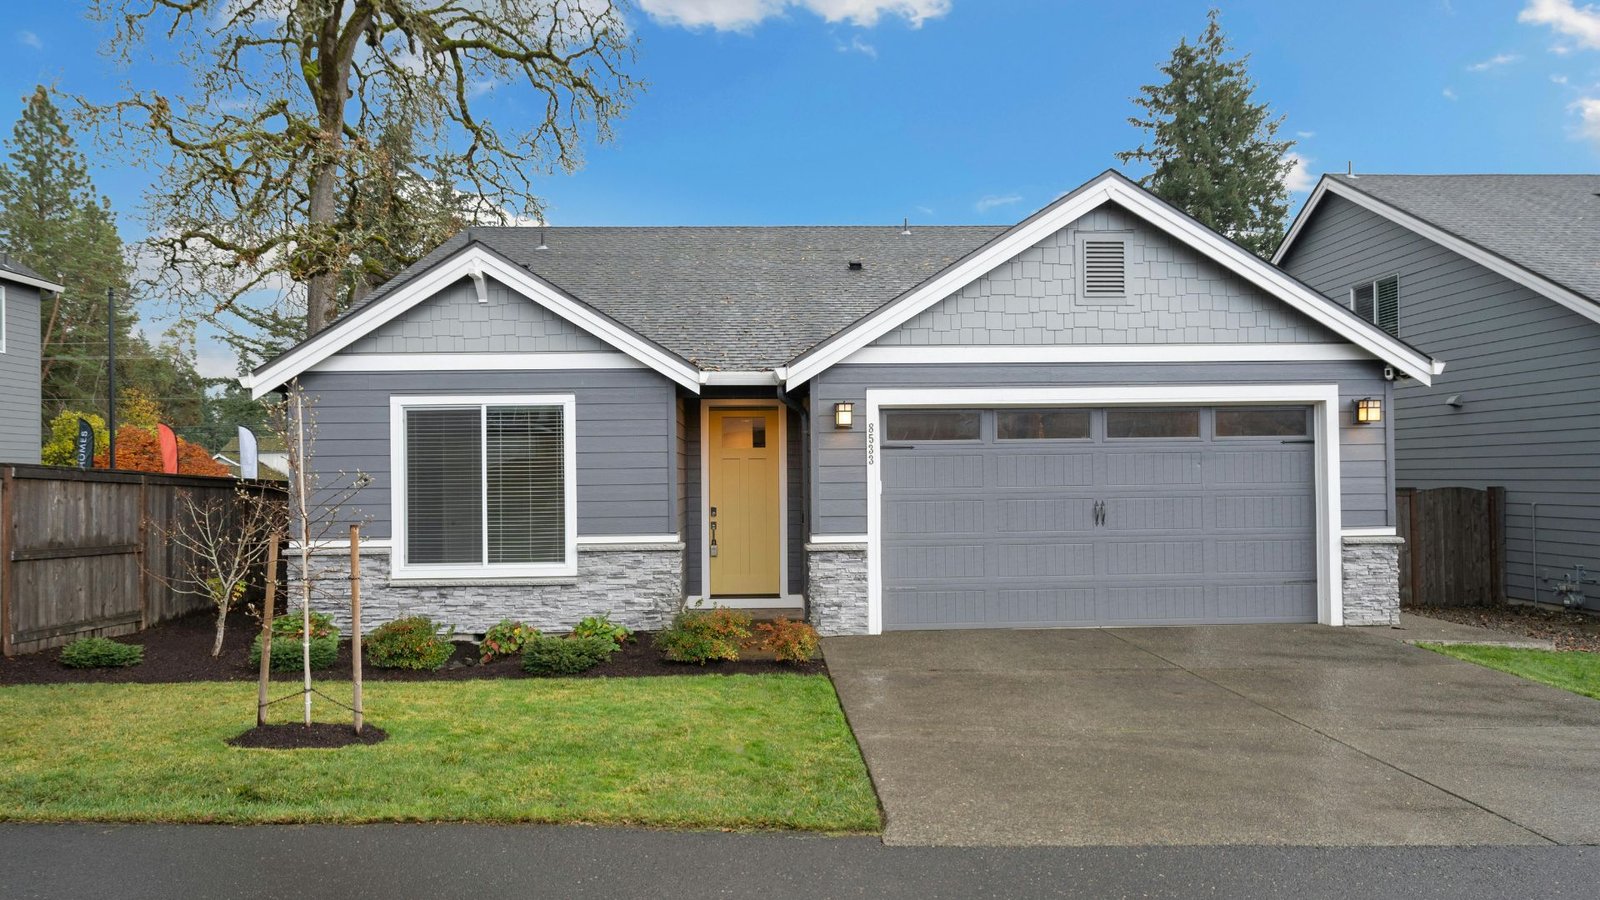
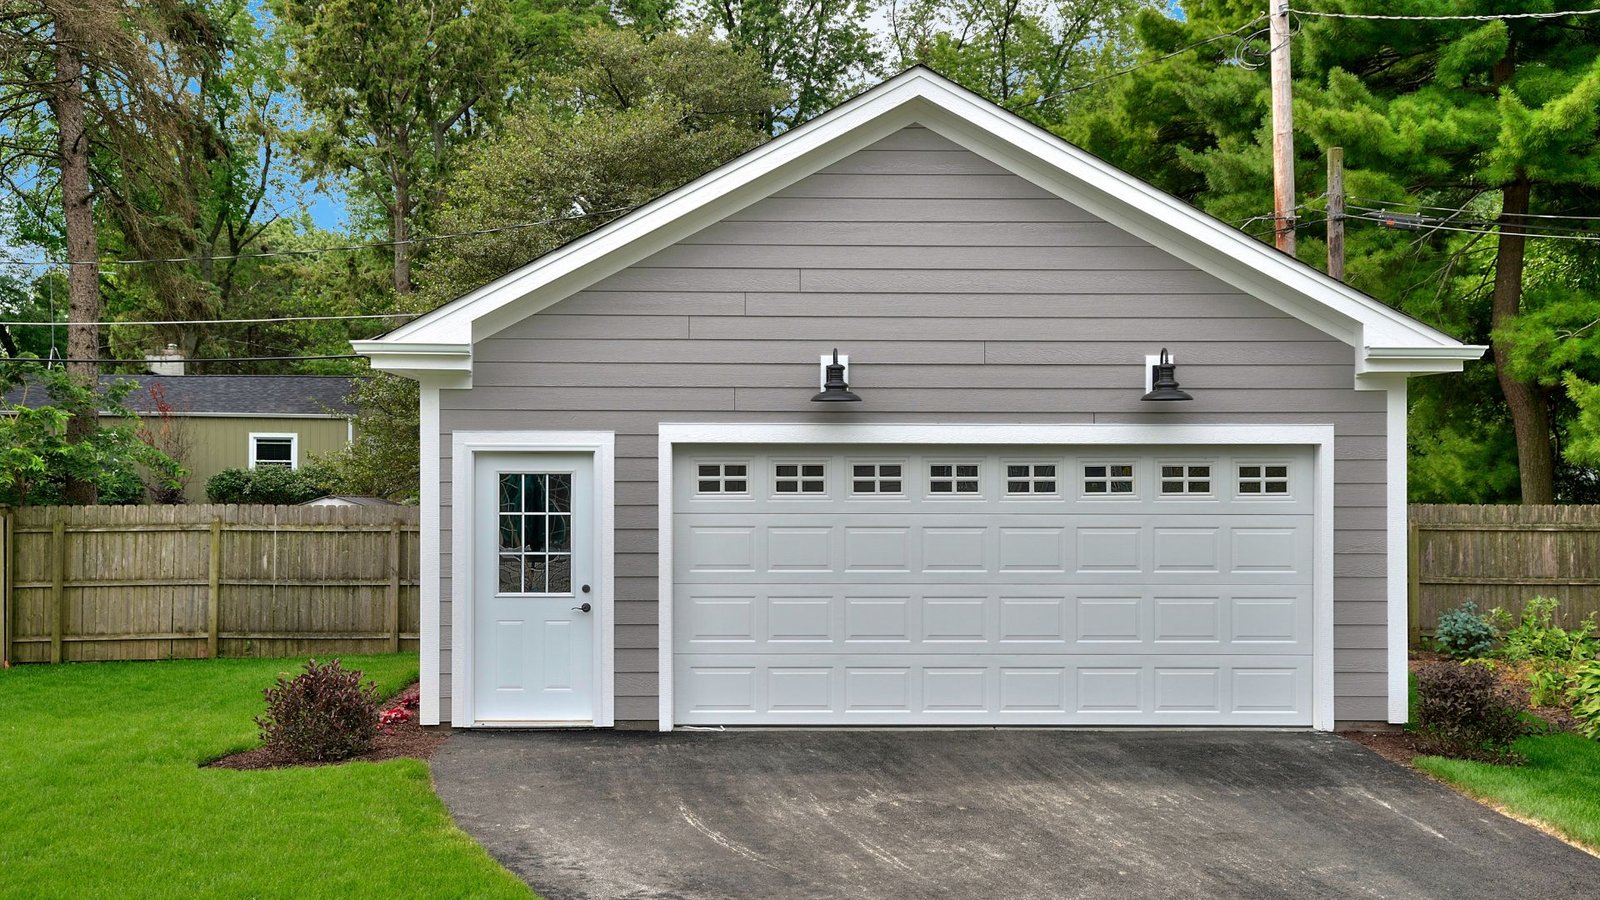
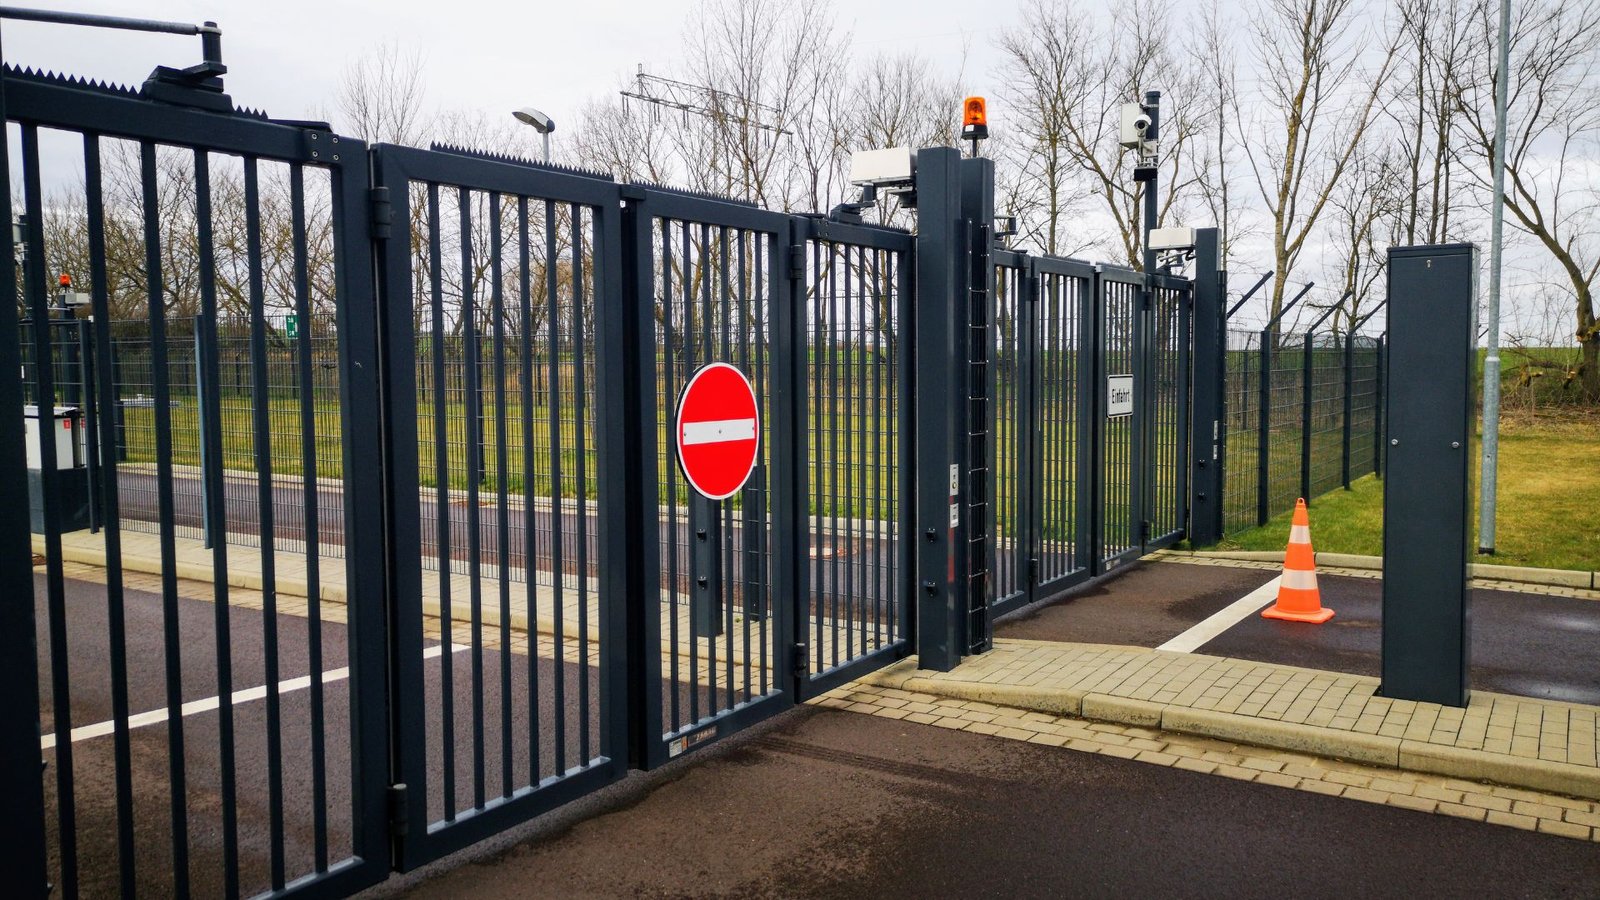
Sliding vs Swing Gate: Which Option Boosts Security and Curb Appeal Better? If you are staring at your driveway and wondering whether a sliding gate or a swing gate is the better choice, you are not alone. Many homeowners in The Woodlands, Texas feel stuck at this exact decision point. You want security, a good look for your home, and something that will not become a maintenance headache. You also do not want to regret how the gate affects your driveway space, parking, or everyday use. This guide walks you through sliding vs swing gate options so you can decide which gate is right for your home and your budget. Sliding vs Swing Gate Basics Before you pick a gate system, it helps to understand how these two gate types work. How a Swing Gate Works A swing gate opens like a door on a hinge, usually swinging inward into your driveway. A single swing gate uses one gate panel, while a double swing gate uses two gate panels that open from the center. Swing gates often feel classic and elegant, and they tend to match traditional fencing very well. A driveway gate that swings can be: A single swing gate (one leaf) A double swing gate (two leaf setup, also called a double gate) Most swing gates require: Enough swing distance inside your driveway Strong hinge hardware that supports the weight of the gate Enough room so the gate does not hit a car, sidewalk, or pedestrian when you let the gate open Because swing gates usually move inward, you need to think about where your car will sit when waiting for the gate to open, especially if your driveway openings are close to the street. How a Slide Gate Works A slide gate moves sideways rather than inwards. The gate slides along the fence line, usually on a track in which the gate moves parallel to your boundary wall or existing wall or fence. To install a sliding gate, you typically need: A clear sliding driveway area along one side of the gate Enough length along the side of the gate to allow the gate to slide completely open A track in which the gate can roll smoothly Sliding gates usually: Require space along the fence line rather than inside the driveway Use more moving parts in the roller and track system Need good alignment so the gate does not bind or scrape If you have properties with limited space inside the driveway, a gate to slide sideways can be a better choice. Swing Gate vs Slide Gate: Key Differences That Matter You might see a lot of online gate vs gate comparisons, but the important thing is how each option affects your daily life in The Woodlands. Space & Layout: How Much Room Do You Have? Ask yourself how much driveway space and side room you actually have. Swing gate vs sliding gate space needs: A swing gate needs clear space inside the driveway equal to the gate width. A slide gate needs clear space along the boundary wall or fence that equals at least the width of the driveway. In other words: A double gate would need less swing distance per leaf, whereas a single gate would need more room to swing. For a large driveway, a double swing gate can open from the center and still leave room for a car. For properties with limited space inside the driveway, sliding gates are ideal because the gate moves sideways rather than inwards. Sliding gates require space along the side of the gate, not in the middle of your driveway. That is why sliding gates are often the better option when you park close to the gate or you have a short driveway. Security: Which Gate Is Harder To Force Open? Many homeowners choose a new gate primarily for security. Here is where the differences between sliding and swing gates become very noticeable. Security Pros and Cons Swing gates often rely heavily on strong hinge hardware and a good lock. If a strong wind or someone tries to force open a swing gate, the hinges and latch take most of the stress. Sliding gates are generally harder to force open, because the gate slides on a track and usually locks into sturdy posts at both ends. Compared to swing gates, a properly installed sliding gate is often more difficult to force open. Sliding gates also tend to be harder to lift off their track if the hardware is designed for security. For many homes, sliding gates offer enhanced security without sacrificing style. That is one reason many people feel that sliding gates are the better choice when security is the top concern. Aesthetics: Classic Look vs Sleek Modern Line Both sliding gates and swing gates come in many designs, so your final look will depend on your style. That said, each type of gate has a natural feel. A swing gate usually gives a classic and elegant appearance, almost like a large front door to your property. A slide gate tends to look more modern and streamlined, especially when the gate panel runs tightly along your fence. Think about: The style of your fence The architecture of your house Whether you prefer a bold entrance that swings open or a clean line where the gate slides quietly aside Either gate may be customized for color, pattern, and material, but the overall motion and feel are very different. Gate Operators & Automation: Making Your Gate Automatic For everyday convenience in The Woodlands heat and rain, many homeowners choose an automatic gate. Automatic Swing Gate vs Automatic Sliding Gate An automatic swing gate uses a gate operator mounted to the post and the gate leaf. It pushes or pulls the gate open like an arm. An automatic sliding gate uses a different style of gate operator that drives the gate along its track with a rack and pinion or similar mechanism. Important things to know: Automatic gate systems