Nylon Vs Steel Garage Door Rollers: Which Is Quieter, Stronger, And Worth The Money?
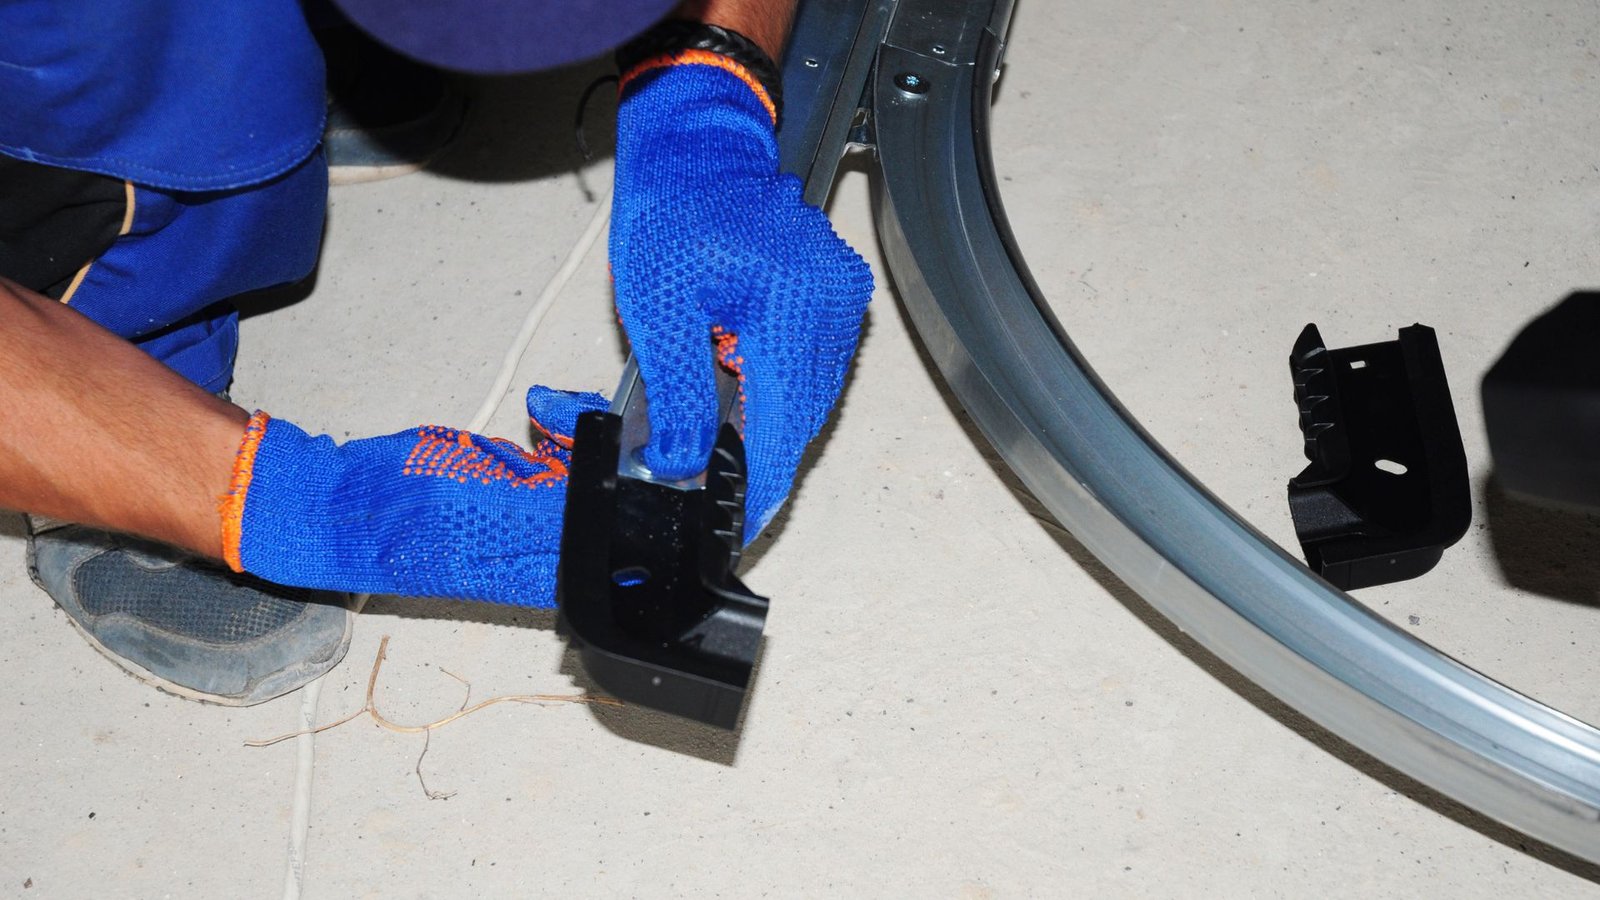
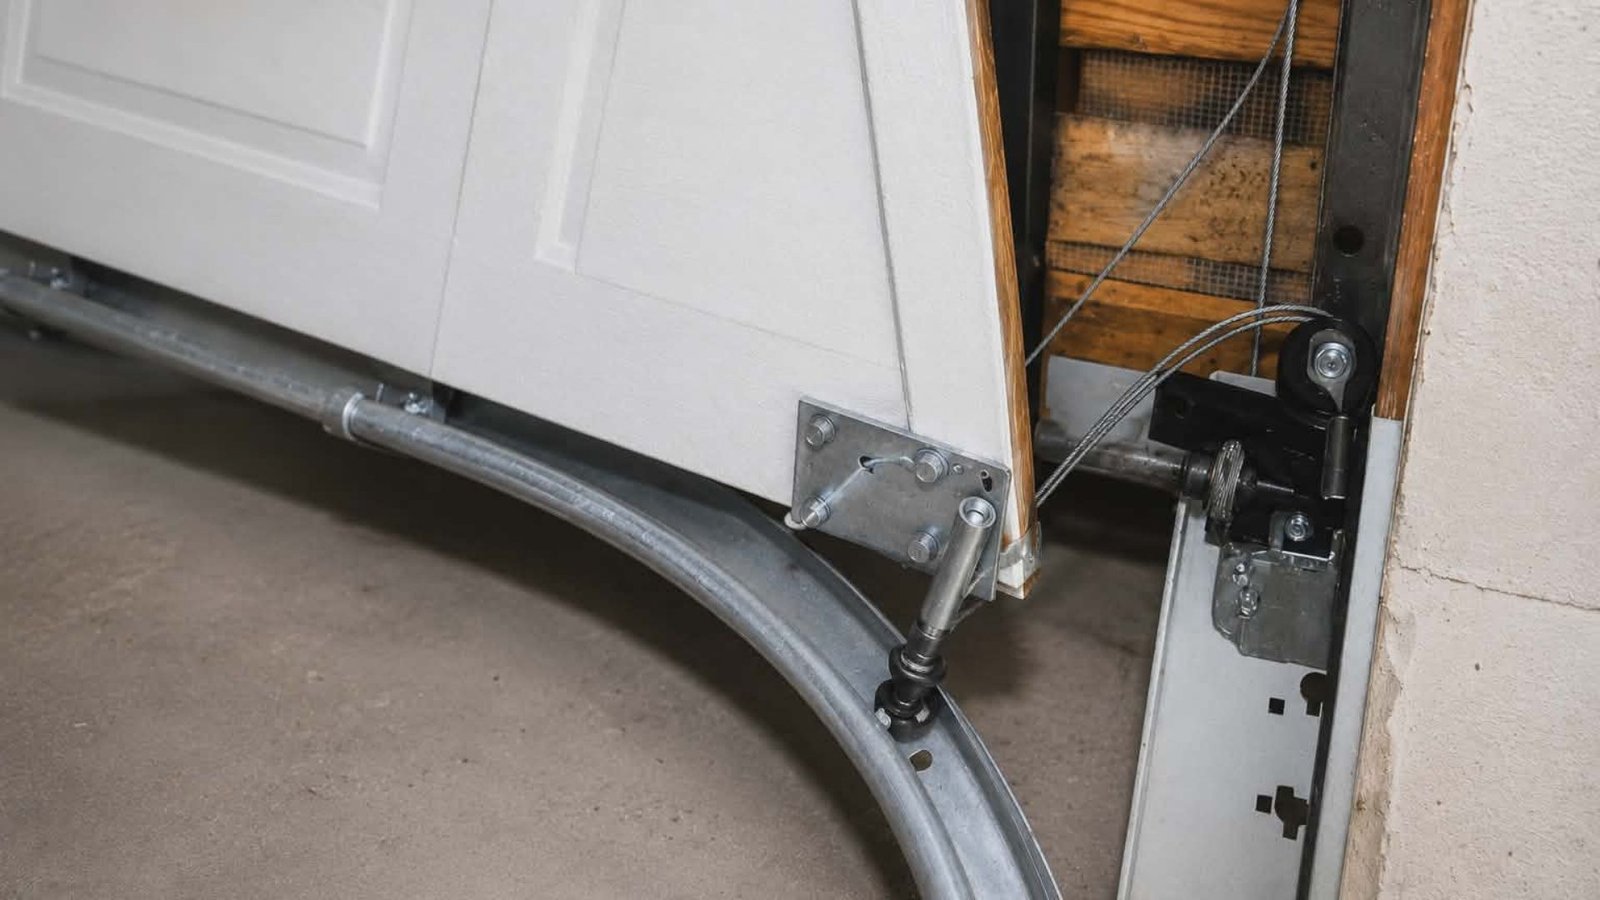
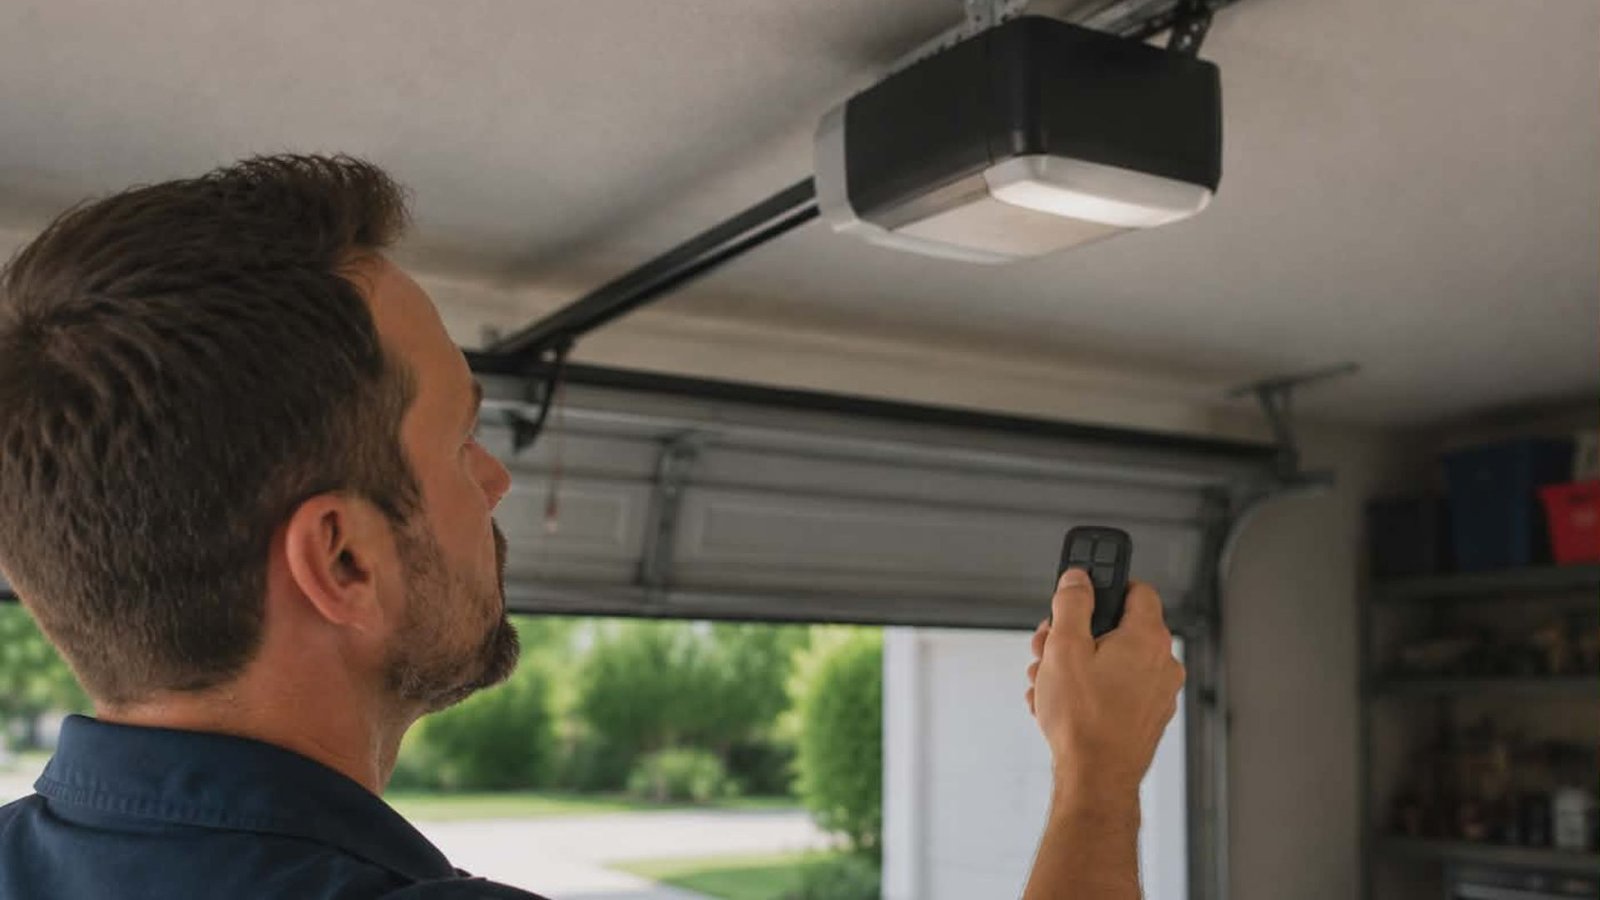
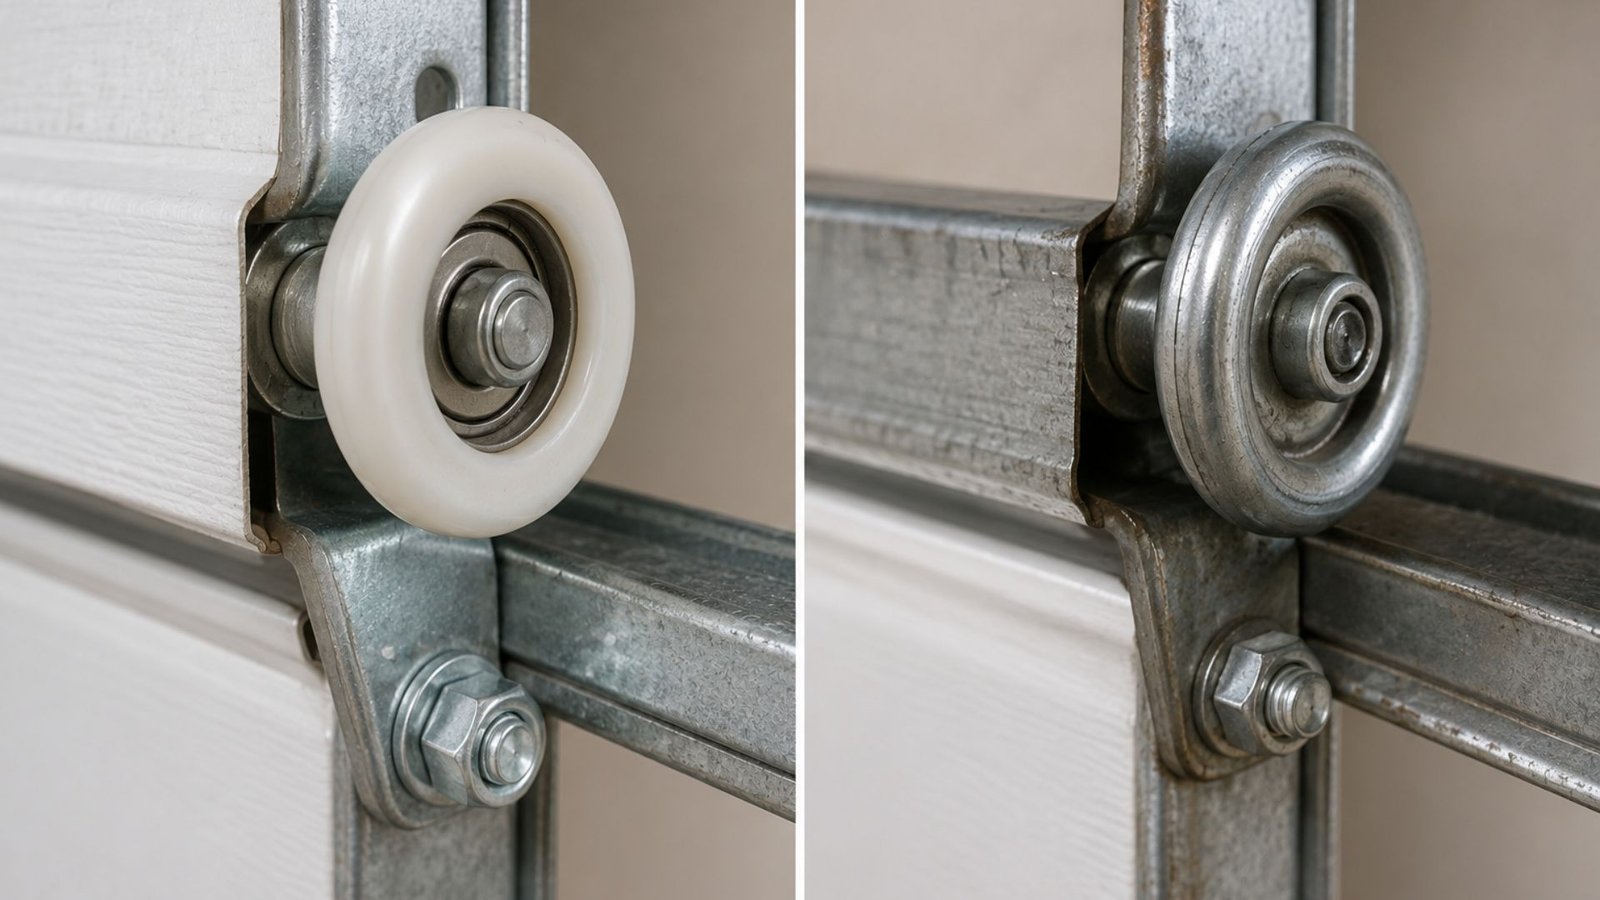
Nylon Vs Steel Garage Door Rollers: Which Is Quieter, Stronger, And Worth The Money? If your garage door sounds like a freight train every time it opens, the roller is probably the culprit. If you’re shopping for replacements, you’ve likely faced the same question: nylon or steel. It’s a simple question with a surprisingly layered answer. Both materials work. Both have real advantages. But the right choice depends on how you use your garage, what you value most, and how much maintenance you’re willing to do. Let’s break it all down so you can make a confident call. What Does a Garage Door Roller Actually Do? A garage door roller is a small wheel that fits into the garage door tracks and allows the door to slide up and down smoothly. Each roller sits on a stem attached to a hinge, and together they guide the entire door system along its path. Without good rollers, even the best garage door opener in the world will struggle. The roller takes on constant friction, weight, and mechanical stress every single time the door operates. That’s why choosing the right rollers matters more than most homeowners realize. Steel Vs Nylon Garage Door Rollers: The Core Differences When comparing steel vs nylon garage door rollers, you’re really comparing two different philosophies. Steel prioritizes raw strength. Nylon prioritizes smooth, quiet operation. Here’s a closer look at how nylon and steel stack up across the factors that matter most. Noise: Rollers Are Quieter When They’re Made of Nylon This is the big one for most homeowners. Nylon rollers are much quieter than steel rollers, and the difference is noticeable from the first use. Steel rollers are known for a distinct rumbling or grinding noise as metal contacts metal inside the garage door tracks. Nylon, being a plastic-based material, naturally absorbs vibration and reduces friction during operation. If your garage is attached to your living space or a bedroom sits near the door, nylon rollers for quieter operation are a real quality-of-life upgrade. Strength and Durability: Advantages of Steel Rollers Steel rollers are better suited for heavier doors. If you have a large residential garage door or a commercial application, steel handles the pound-for-pound demands better than most nylon alternatives. Steel rollers are usually built with a ball bearing assembly, which helps distribute the load evenly across the wheel. High-quality bearing rollers with sealed bearings can last through thousands of cycles without significant wear. That said, the advantages of nylon rollers in terms of durability have improved significantly with modern technology. Nylon rollers with sealed bearings now rival steel in lifespan for most residential garage door setups. Maintenance: Rollers Require Different Care Steel rollers require regular lubrication to prevent corrosion and metal-on-metal friction. Without grease applied consistently, steel rollers can wear down the garage door tracks and create problems throughout the entire door system. Nylon rollers require less upkeep by comparison. Garage door maintenance requires less frequent lubrication because the material itself reduces friction naturally. For homeowners who don’t want to think much about maintenance, that’s a meaningful advantage. Rollers without bearings – whether nylon or steel – will always need more attention and wear out faster. When possible, choose rollers with sealed ball bearing assemblies. Cost: What Rollers Cost Upfront and Long-Term Steel and nylon options differ in price, though not dramatically. Steel rollers are generally the more affordable upfront option. You can find basic steel rollers for a few dollars each, though heavy-duty bearing rollers cost more. Nylon roller prices have come down as the material has become more mainstream. When you factor in the reduced maintenance, longer useful life in residential applications, and the reduced wear on garage door components, nylon ones often provide better long-term value. Rollers typically fall into a price range where the difference per unit is small. The real cost difference shows up over years of use. Choosing the Right Rollers for Your Garage Door So how do you decide? Here’s a practical way to think about it. Choose nylon if: Steel rollers might be the better call if: For most homeowners in The Woodlands, standard residential garage doors are well within the weight range that nylon rollers can handle comfortably, making them a great fit. Nylon rollers are durable and, compared with steel rollers in the same bearing class, provide smoother, quieter operation day after day. When to Replace Your Garage Door Rollers Worn-out rollers or upgrading from plastic rollers to a higher-quality option can dramatically improve how your garage door performs. If you notice shaking, grinding, or uneven movement, new rollers can make an immediate difference. Rollers can last anywhere from five to fifteen years, depending on the material, bearing quality, and how often the door goes up and down. Rollers may fail sooner in high-use homes, especially if lubrication and inspection are skipped. A professional garage door technician can inspect your current setup and recommend the right garage door rollers for your specific door system. A garage door professional will also identify whether the issue is the roller itself or something else affecting the garage door’s performance. Get the Right Help From a Trusted Local Team Whether you’re replacing worn-out rollers or planning a full garage door upgrade, getting professional garage door services makes the job faster and safer. Rollers need to be properly seated in the tracks, and the wrong installation can put stress on the hinge and the entire garage door system.For professional garage door repair and roller replacement in The Woodlands, the team at 2Quick Garage Doors Woodlands is ready to help. Call (346) 574-0359 to schedule door services today.