
Garage Door Won’t Close Fixes
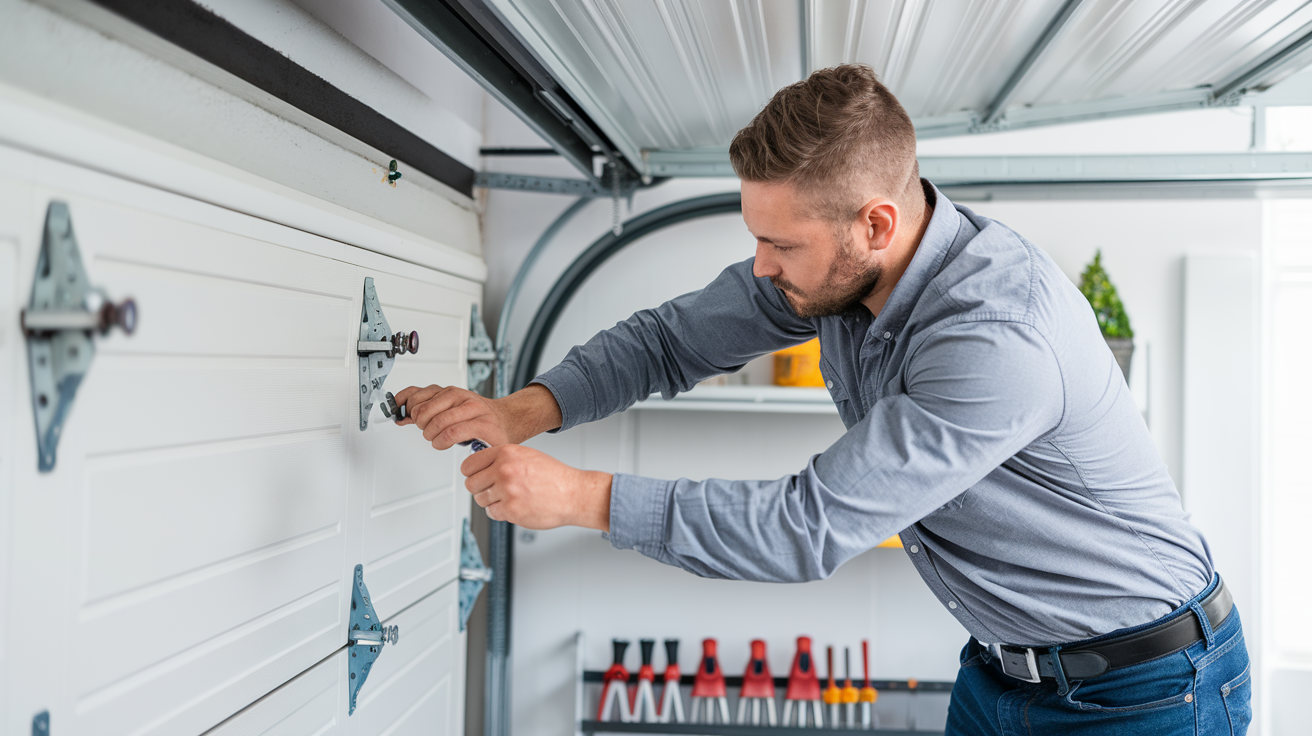
Garage Door Won’t Close? Fix It Fast with These Expert Tips A garage door that refuses to close isn’t just frustrating—it’s a security risk, energy drain, and potential safety hazard. Whether you’re dealing with misaligned sensors, power issues, or broken springs, this guide will help you diagnose and fix the problem—or know when to call for professional garage door repair in Cypress, TX. Here’s what we’ll cover: ✔ Top 5 reasons garage doors won’t close (with DIY fixes) ✔ Sensor alignment tricks that work in 90 seconds ✔ When a power reset can solve the problem ✔ How to spot broken spring symptoms ✔ When to call for same-day professional help Let’s get your garage door closing smoothly again. 5 Common Reasons Your Garage Door Won’t Close (And How to Fix Them) 1. Misaligned or Dirty Safety Sensors Modern garage doors have infrared safety sensors near the floor that prevent closing if something blocks the beam. How to Fix Sensor Issues: ✅ Check for Obstructions – Clear debris, spiderwebs, or dirt blocking the lenses. ✅ Realign Sensors – Loosen the brackets and adjust until the indicator lights glow steady (usually green). ✅ Test the Door – Place an object (like a box) in the doorway. If the door doesn’t reverse, sensors need professional calibration. Pro Tip: Sunlight can interfere with sensors—shade them if they face direct sun. 2. Power or Opener Malfunction The opener may malfunction if your garage door starts closing but reverses immediately. Troubleshooting Steps: 🔌 Reset the Opener – Unplug it for 30 seconds, then plug it back in. 🔋 Check Remote Batteries – Weak batteries can cause intermittent operation. 📡 Reprogram the Remote – Follow your opener’s manual to sync it again. Still Not Working? The opener’s logic board or motor may need professional repair. 3. Broken Springs or Cables Supports: garage door repair Cypress TX Garage doors rely on torsion or extension springs to operate. If they break, the door may refuse to move or close unevenly. Signs of Broken Springs: ⚠ Loud SNAP or BANG noise ⚠ door feels extremely heavy when lifted manually ⚠ Gaps in extension springs or loose cables ⚠ WARNING: Never attempt to replace springs yourself—they’re under high tension and can cause serious injury. 4. Track Misalignment or Obstruction The tracks may be bent or blocked if the garage door starts closing but jams. How to Fix Track Issues: 🔧 Inspect the Tracks – Look for dents, debris, or loose bolts. 🔧 Lubricate the Rollers – Use silicone spray (not grease) on the tracks. 🔧 Check for Level – Use a level to ensure tracks are correctly aligned. If tracks are bent, call a professional—forcing the door can cause further damage. 5. Limit Switch Problems The limit switch tells the opener when to stop moving. If misadjusted, the door may reverse before fully closing. How to Adjust the Limit Switch: Locate the adjustment screws on the opener (marked “Up” and “Down”). Turn the “Down” screw slightly clockwise to increase travel distance. Test the door—repeat if needed. Still not closing? The switch may need replacement. When to DIY vs. Call a Professional Issue DIY Fix? Call a Pro? Dirty/misaligned sensors ✅ Yes ❌ No Dead remote batteries ✅ Yes ❌ No Broken springs ❌ No ✅ Immediately Bent tracks ❌ No ✅ Yes Opener motor failure ❌ No ✅ Yes Safety First: If you’re unsure, don’t risk injury—call a garage door technician. Real-Life Examples from Cypress & The Woodlands Case Study 1: Sensor Failure in Bridgeland Problem: The door was reversed every time it tried to close. Cause: Sun glare blinded the safety sensor. Fix: Installed sun shields and realigned sensors. Case Study 2: Broken Spring in Towne Lake Problem: The door wouldn’t close and make loud noises. Cause: Rusted torsion spring snapped. Fix: Emergency spring replacement ($285). Prevent Future Garage Door Problems ✔ Monthly Maintenance – Lubricate tracks and test sensors. ✔ Annual Professional Tune-Up – Extends door lifespan. ✔ Storm Prep – Secure doors before high winds. Need Same-Day Garage Door Repair in Cypress, TX? If the garage door won’t close, still don’t wait—call the experts at Garage Doors Woodlands TX for fast, reliable service. 🔧 Same-Day Repairs Available. Call or Book now! 📞 Contact Us Now | 🌐 View Our Services