Automatic Gates Cost: What You’ll Really Pay in 2026
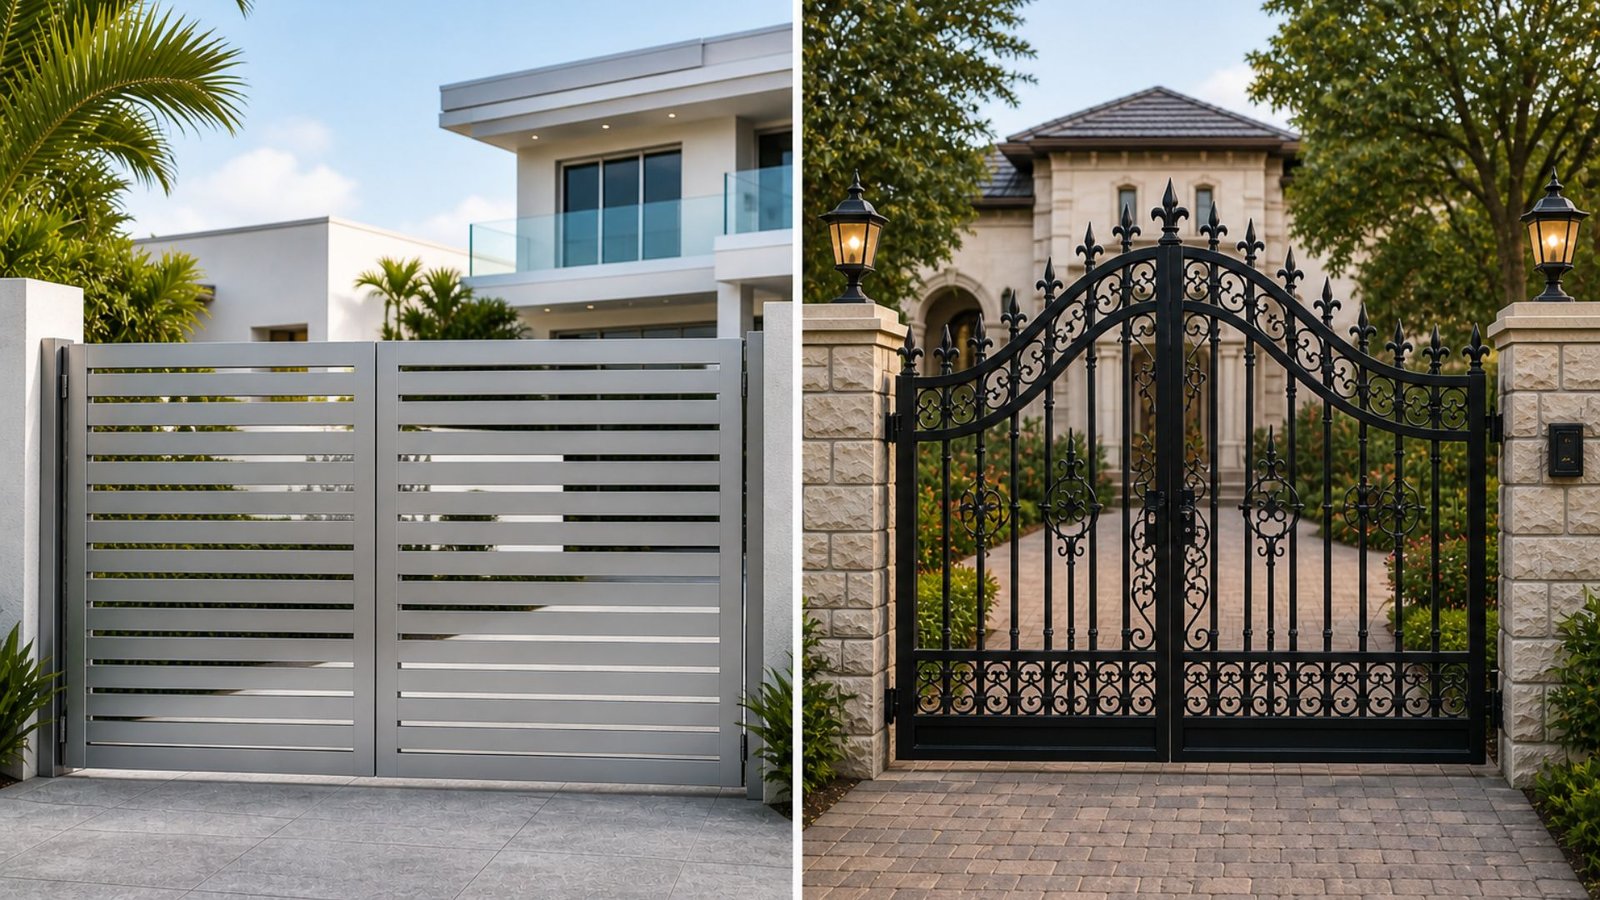
Automatic Gates Cost: What You’ll Really Pay in 2026 If you’ve been thinking about adding an automatic gate to your driveway, you’ve probably already run into one frustrating problem: nobody gives you a straight answer on price. You see ranges like “$500 to $10,000” and walk away more confused than when you started. This guide is here to change that. We’ll break down what actually drives the cost of an electric gate, what you should budget for materials and installation, and what hidden expenses people tend to forget about. What Is the Average Cost of an Automatic Gate in 2026? The honest answer is that most homeowners spend somewhere between $1,500 and $6,000 for a complete automatic gate installation, including the gate itself, the automation system, and labor. That said, the range is wide for good reason—the price depends heavily on what type of gate you choose, the size of your driveway opening, and the features you want. For a basic swing gate with a standard electric opener, you might land closer to the lower end. For a custom wrought iron or wood double gate with a keypad entry, camera integration, and solar panel backup, you could easily push past $8,000. Breaking Down the Cost by Gate Type Steel and Wrought Iron Gates Steel and wrought iron are two of the most popular materials for residential driveway gates. Wrought iron is known for its classic look and durability. Many wrought iron gates go through hot-dip galvanization during manufacturing, which significantly extends their lifespan by protecting against rust and corrosion. A basic steel swing gate starts around $800 to $1,500 for materials alone. Wrought iron gates with ornamental detailing can run $2,000 to $5,000 or more before you add automation. Aluminium Gates Aluminium is a lighter alternative that resists rust naturally, making it a solid choice if low maintenance is a priority. Aluminium gates tend to cost slightly less than wrought iron – typically $700 to $2,500 for materials. They’re also easier on the automation motor because of the reduced weight, which can help extend the life of your system. Wood Gates Wood gates add a warm, natural look to a property and can be customized easily. The trade-off is maintenance. Wood requires regular sealing, painting, or staining to hold up over time, especially in humid Texas weather. Material costs for wood gates typically range from $600 to $3,000, depending on the wood species and design. Keep in mind that heavier wood gates may need a more powerful automation system, which affects your overall budget. Automation System Costs The gate itself is only part of the equation. The electric gate opener and control system add another $300 to $1,500 or more to your total cost. Here is what typically factors into automation pricing: Some automatic gate brands offer budget-friendly automation kits that are popular among DIY installers and contractors alike. They provide decent performance for lighter gates and are widely available, which makes replacement parts easier to source. Installation Labor Costs Professional installation typically adds $500 to $2,000 to your project, depending on the complexity of the job. A straightforward single swing gate on flat ground is on the lower end. A dual swing gate or slide gate with concrete footing work, electrical wiring, and intercom setup will push toward the higher end. Some homeowners consider the do-it-yourself route to save money, and it is possible for simple setups if you’re mechanically inclined. However, improper installation can void your warranty, create safety hazards, and result in costly repairs down the line. A gate with a poorly installed sensor, for example, can fail to detect a vehicle or person and cause serious damage. For most people, professional installation is worth the cost. What About the Fence Connection? Many driveway gate installations are part of a larger fence project. If you’re adding a gate to an existing fence, you’ll need to make sure the posts on either side of the gate are strong enough to support the automation hardware and the weight of the gate itself. Upgrading or reinforcing existing fence posts can add $200 to $800 to the project, depending on what’s already in place. It’s worth getting this assessed before you commit to a gate style, since a heavy wrought iron or wood gate may require more substantial anchoring than a lighter aluminium option. Hidden Costs People Often Overlook Permits In many residential areas, you may need a permit before installing an electric gate, particularly if it involves electrical work or structural changes. Permit costs vary but are typically $50 to $200. Ongoing Maintenance Once your gate is installed, it needs regular maintenance to keep it running properly. Lubrication, sensor testing, and inspection of moving parts should happen at least once a year. Budget around $100 to $300 per year for professional maintenance visits. Repairs Over Time Automation systems and gate hardware do wear out. Motors, circuit boards, and safety sensors are the most common repair items. Setting aside a small annual reserve for potential repairs is smart financial planning, especially if your gate gets heavy use. Budget-Friendly vs. Premium Options: A Quick Comparison If you’re working with a tight budget, an aluminium or basic steel gate with an ALEKO-style automation kit and a simple keypad entry can get the job done for around $1,500 to $2,500 installed. You won’t get the premium curb appeal of wrought iron or custom wood, but you will get reliable automation with the key safety features. On the premium end, a custom wrought iron or hardwood double gate with a commercial-grade opener, video intercom, solar panel backup, electric battery system, and multiple sensors can run $7,000 to $12,000 or more for a full installation. Most residential properties in The Woodlands land somewhere in the middle – with a mid-range steel or wrought iron swing gate and solid automation, keypad access, and installation for around $3,000 to $5,500. Does an Automatic Gate Add Value to Your Home? In most cases, yes. A well-installed automatic gate