
How To Seal Garage Door Sides And Keep Out Drafts, Rain, And Pests
If you have ever walked into your garage and felt a cold breeze coming in from the sides of your door, you are not imagining things. Gaps along the sides of a garage door are one of the most common and overlooked problems homeowners deal with. These gaps let in drafts, rainwater, insects, rodents, and even dust that slowly builds up over time.
The good news is that sealing the sides of your garage door is a manageable project. You do not need to be a contractor to get it done, but you do need to understand what you are working with and why it matters.
Why Sealing Your Garage Door Sides Actually Matters
Most people think of a garage as just a place to park a car or store boxes. But if your garage is attached to your home, it shares walls, air, and sometimes pests with your living space. A poorly sealed garage door can drive up your energy bills, let humidity in during Texas summers, and become an open invitation for critters looking for shelter.
In The Woodlands, Texas, the weather can shift quickly. You might deal with heavy rain and flooding one week and dry, windy conditions the next. Without a proper side seal, your garage acts like a funnel for whatever the weather decides to throw your way.
Beyond comfort and energy savings, there is also the issue of structural damage. Water that sneaks in through the sides of your garage door can damage flooring, walls, and anything stored inside. Over months and years, that kind of moisture exposure adds up.
Understanding How Garage Door Side Seals Work
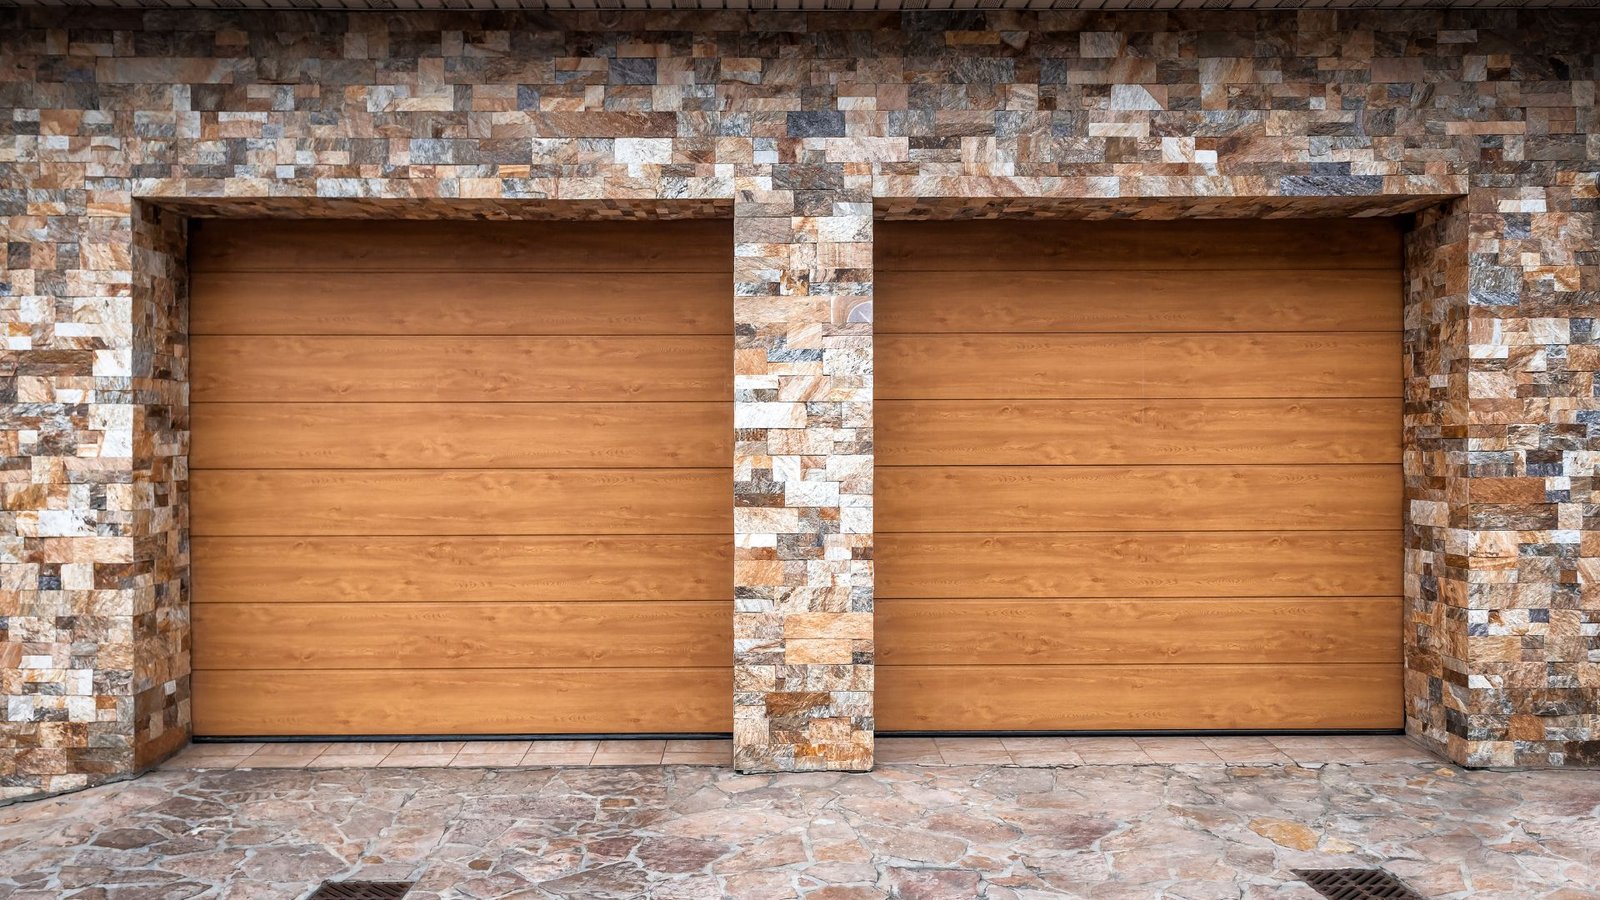
Before you can fix the problem, it helps to know what you are dealing with. A garage door side seal, also called a door stop weatherstrip, is the strip of material that runs vertically along both sides of your garage door frame. Its job is to create a tight seal between the door and the door jamb when the door is closed.
These seals are usually made of rubber, vinyl, or a combination of both. They flex slightly to accommodate the movement of the door while still blocking gaps. Over time, they crack, compress, or pull away from the frame.
Common Signs Your Side Seals Need Replacing
You might not notice the problem right away, but there are clear warning signs to watch for:
- Visible light coming through the sides when the door is closed
- Drafts you can feel with your hand near the door edges
- Water stains or moisture on the garage floor after rain
- Insects or small pests are getting inside with no obvious entry point
- Higher-than-usual energy bills without a clear explanation
If any of these sound familiar, your garage door side seals are likely the culprit or at least part of the problem.
What You Need Before You Start
Sealing your garage door sides is a relatively straightforward DIY project, but going in prepared makes the whole process faster and cleaner. Here is what you will need:
- Replacement weatherstrip or garage door seal (measure your door height before buying)
- A utility knife or scissors for cutting
- A hammer and nails or a staple gun, depending on the seal type
- A flat pry bar to remove old seals
- A tape measure
- Caulk and a caulk gun for any gaps around the door frame itself
- Safety glasses and gloves
Most weatherstrip kits designed for garage doors come with everything you need, including the hardware. Look for kits specifically labeled for garage door side seals rather than standard door or window weatherstripping, which may not be designed to handle the weight and movement of a garage door.
How To Seal Garage Door Sides: Step-By-Step
Step 1: Inspect the Current Seals and Frame
Start with a thorough inspection. Close your garage door completely and look at the sides from both inside and outside. Check for gaps, cracks, or areas where the existing seal has pulled away from the frame.
Also, look at the door jamb itself. If the wood is rotted, warped, or damaged, you may need to address that before installing a new seal. A new seal on a broken frame will not give you the result you are looking for.
Step 2: Remove the Old Weatherstrip
Use your flat pry bar to gently remove the old seal. Be careful not to damage the door jamb in the process. If the seal is nailed or stapled in, work slowly to pull it away cleanly.
Once the old seal is removed, clean the surface. Old adhesive, dirt, or debris on the door frame will prevent the new seal from sitting flush and sealing properly.
Step 3: Measure and Cut the New Seal
Measure the height of your garage door from top to bottom on each side. Cut your new weatherstrip to match. It is better to cut it slightly long and trim the excess than to cut it too short.
Most side seals come with a fin or lip that presses against the door to create the seal. Make sure you understand the orientation before you start attaching it.
Step 4: Attach the New Seal
Position the new seal along the door jamb so that the fin or flexible lip presses lightly against the closed door. It should not push so hard that it strains the door opener or causes the door to stick, but it needs to make solid contact to block drafts and rain.
Use the nails or staples to secure the seal, spacing them every six to eight inches for a consistent hold. Work from the top down to keep the seal aligned as you go.
Step 5: Check the Fit and Make Adjustments
Once both sides are done, close the door and check for any remaining gaps. Run your hand along the edges to feel for drafts. If you notice any spots where the seal is not making contact, you may need to reposition that section or add a secondary bead of caulk along the outer edge of the frame.
Do Not Forget the Other Parts of Your Garage Door Seal
Sealing the sides is important, but your garage door has three other contact points that deserve attention, too.
The Bottom Seal
The bottom seal sits along the base of the garage door and contacts the floor when the door closes. It is the first line of defense against rain, pests, and cold air. If it is cracked or flattened, replace it along with the side seals.
The Top Seal
The top of the garage door also needs a seal where it meets the frame. Check the rubber or vinyl strip that runs across the top of the opening. If it has gaps or has shrunk away from the frame, it needs to be replaced or supplemented with caulk.
The Door Panels Themselves
Sometimes the issue is not just the seals but the door panels. Older garage doors can warp, crack, or shift over time, creating gaps that no seal can fully compensate for. If your door panels are damaged, it might be worth exploring expert garage door installation to get a door that fits and seals properly from the start.
When DIY Is Not Enough: Knowing Your Limits
Replacing weatherstripping is something most handy homeowners can handle. But there are situations where the problem goes deeper than a worn-out seal.
If your garage door is not sitting level in the frame, no amount of weatherstripping will create a uniform seal. Alignment issues often come from broken or worn springs, damaged tracks, or a failing opener. These are not problems you want to troubleshoot on your own because garage door springs, in particular, are under serious tension and can cause injury if mishandled.
If you suspect the problem is with your door’s alignment, springs, or hardware, it is worth calling in professional garage door repair services. A trained technician can diagnose whether the issue is mechanical and fix it safely so your new seals actually do their job.
Maintenance Tips To Keep Your Seals Working Longer
Installing new seals is the first step. Keeping them in good shape is the ongoing work. Here are some straightforward habits that extend the life of your garage door seals:
Inspect them seasonally
Texas weather puts real stress on rubber and vinyl. A quick look each spring and fall can catch small problems before they become big ones.
Clean the seals periodically
Dirt, grit, and debris can wear down the material faster. Wipe the seals down with a damp cloth every few months.
Lubricate the door’s moving parts
A door that operates smoothly puts less stress on the seals. Ask your technician to include seal inspection as part of routine garage door maintenance, which typically covers lubrication, hardware checks, and balance testing.
Do not ignore small tears.
A minor crack in a seal can grow quickly, especially in heat. Catching it early is far cheaper than dealing with water damage later.
Choosing the Right Weatherstrip Material
Not all weatherstrips are the same, and the material you choose affects how long it lasts and how well it performs.
inyl is a popular choice because it is affordable and holds up well in varying temperatures. It is a solid option for most standard residential garage doors.
EPDM rubber is a step up in durability. It resists UV exposure and extreme temperatures better than basic vinyl, making it a smart choice in The Woodlands, where summer heat is no joke.
Foam-backed seals offer extra cushioning and are good for doors where the fit is slightly uneven. The foam compresses to fill small gaps that a rigid seal might miss.
When in doubt, ask your local garage door technician what they recommend for your specific door type and climate conditions. What works for a metal door in a shaded garage may not be ideal for a wood door that gets direct afternoon sun.
What Happens If You Keep Ignoring the Problem
Putting off garage door maintenance is easy to do; the door still opens and closes, and life stays busy. But gaps in your side seals do not stay small. Here is what can happen when the problem goes unaddressed for too long.
Rodents, including mice, can fit through a gap the size of a dime. Once they are in, they nest, chew wiring, and are difficult to remove. Insects like carpenter ants can find their way into attached walls and cause structural damage.
Water intrusion leads to mold and mildew, which is a health concern as well as a repair cost. If moisture reaches the wall shared with your home, you could be looking at drywall replacement and remediation work.
Energy costs climb when conditioned air escapes and outdoor air floods in. During a hot Texas summer, that adds up on your electricity bill faster than most people expect.
And if the door structure itself continues to take on moisture and stress without a proper seal, you may eventually need garage door spring repair and replacement or even a full door replacement, costs that dwarf what a weatherstrip would have run you.
Frequently Asked Questions
How long does a garage door weatherstrip typically last?
Most weatherstripping lasts between five and ten years, depending on the material and how much sun and temperature fluctuation it is exposed to. In hotter climates like The Woodlands, the lower end of that range is more realistic without regular maintenance.
Can I install side seals without removing the old ones?
It is not recommended. Installing new seals over old, damaged ones creates an uneven surface that prevents a proper seal. Always remove the old material completely and clean the surface before installing new weatherstripping.
What if my garage door still leaks after replacing the seals?
Check the door’s alignment and balance. If the door is not sitting level or is not closing fully on both sides, no seal will compensate for that gap. Also, inspect the top seal and the threshold seal on the floor. If the issue persists, have a technician evaluate the door’s mechanical condition.
How much does it cost to replace garage door side seals?
The material itself is relatively inexpensive, often under fifty dollars for a full set of side seals for a standard two-car garage door. If you hire a professional to do the work, labor adds to that cost, but it ensures the job is done correctly and that any underlying mechanical issues are identified at the same time.
Is sealing a garage door worth it for energy savings?
Yes, particularly if your garage is attached to your home. Studies on home energy efficiency consistently show that gaps around garage doors are a significant source of energy loss.
Sealing them properly can noticeably reduce heating and cooling costs, especially during peak summer and winter months.
Conclusion
Sealing the sides of your garage door is one of the simplest upgrades you can make to improve comfort, cut energy waste, and protect your home from pests and rain damage. Start with a thorough inspection, replace the worn weatherstrip, and check the rest of the door’s seal points while you are at it.
If you run into issues beyond worn seals, like alignment problems or mechanical wear, the team at 2Quick Garage Doors Woodlands is ready to help. Call (346) 574-0359 or visit our website to schedule a service visit.